Fullscreen App With Raspberry Pi and Adafruit TFT Display
This article was last edited over 3 years ago. Information here may no longer be accurate. Please proceed with caution, and feel free to contact me.
Please consider that these instructions may not be the ideal solution depending on the needs of a given project. Adafruit’s forums are a valuable resource for help regarding their products.
These are the steps I used in order to run a fullscreen Python app on a Raspberry Pi with an Adafruit 2.8" resistive TFT display.
Warning
For this process, I am using Raspbian Lite as the
base image for my Pi and then installing an
X11 environment. If you are not using Raspbian Lite
then these steps
may break your current configuration and you
should be careful before proceeding.
These steps were tested on a “fresh” install of Rasbpian Lite and no other setup.
Required Software
Enable the nonfree Raspbian repository. The Adafruit
script (which we’ll get to later and is required to support
the display properly) requires this repo, and as of time of
writing, this repo is not enabled by default.
cat << EOF | sudo tee /etc/apt/sources.list.d/nonfree.list
deb http://mirrordirector.raspbian.org/raspbian/ stretch main contrib non-free rpi firmware
EOF
Install required packages for our fullscreen app.
sudo apt-get update && \
sudo apt-get install --no-install-recommends \
    sudo \
    cmake \
    xorg \
    openbox \
    lightdm \
    python3 \
    python3-tk \
    python3-rpi.gpio \
    xserver-xorg-legacy \
    xserver-xorg-video-fbdev
Modify the lightdm config script at
/etc/lightdm/lightdm.conf to enable autologin if it
is not already enabled.
cat << EOF | sudo tee /etc/lightdm/lightdm.conf
[SeatDefaults]
autologin-user=pi
# Prevent the screen from shutting off automatically.
xserver-command=X -s 0 dpms
EOF
Run the Adafruit TFT install script as described on their site.
cd ~ && \
wget https://raw.githubusercontent.com/adafruit/Raspberry-Pi-Installer-Scripts/master/adafruit-pitft.sh && \
chmod +x adafruit-pitft.sh && \
sudo ./adafruit-pitft.sh
The script will ask a series of question. You should answer to the
best of your ability. If you have a different screen than the
2.8" resistive version then you should answer
accordingly.
When asked
Would you like the console to appear on the PiTFT display?
                [y/n]
I chose n since the goal here is to use a GUI on the
TFT display and not just text.
When asked
Would you like the HDMI display to mirror to the PiTFT display?
                [y/n]
I chose y since that is a simple way to get GUI
support on the TFT display according to Adafruit’s website.
Reboot the Pi when prompted. The device should log in as
pi automatically using the
openbox window manager. The Pi display should be
blank after it boots, except for a mouse cursor.
App
Create the openbox config directory for the pi user
if it does not exist.
mkdir -p $HOME/.config/openbox
Create a script at
$HOME/.config/openbox/autostart for the
pi user. This script will be run at login.
cat << EOF > $HOME/.config/openbox/autostart
# redirect all output to a log file
# -u so that output is flushed immediately to the log
python3 -u $HOME/app.py > $HOME/app.log 2>&1 &
EOF
The & at the end is required for
every command in the autostart script.
Create a file $HOME/app.py for our python application
code.
import tkinter as tk
class FullScreenApp(object):
padding=3
dimensions="{0}x{1}+0+0"
def __init__(self, master, **kwargs):
self.master=master
width=master.winfo_screenwidth()-self.padding
height=master.winfo_screenheight()-self.padding
master.geometry(self.dimensions.format(width, height))
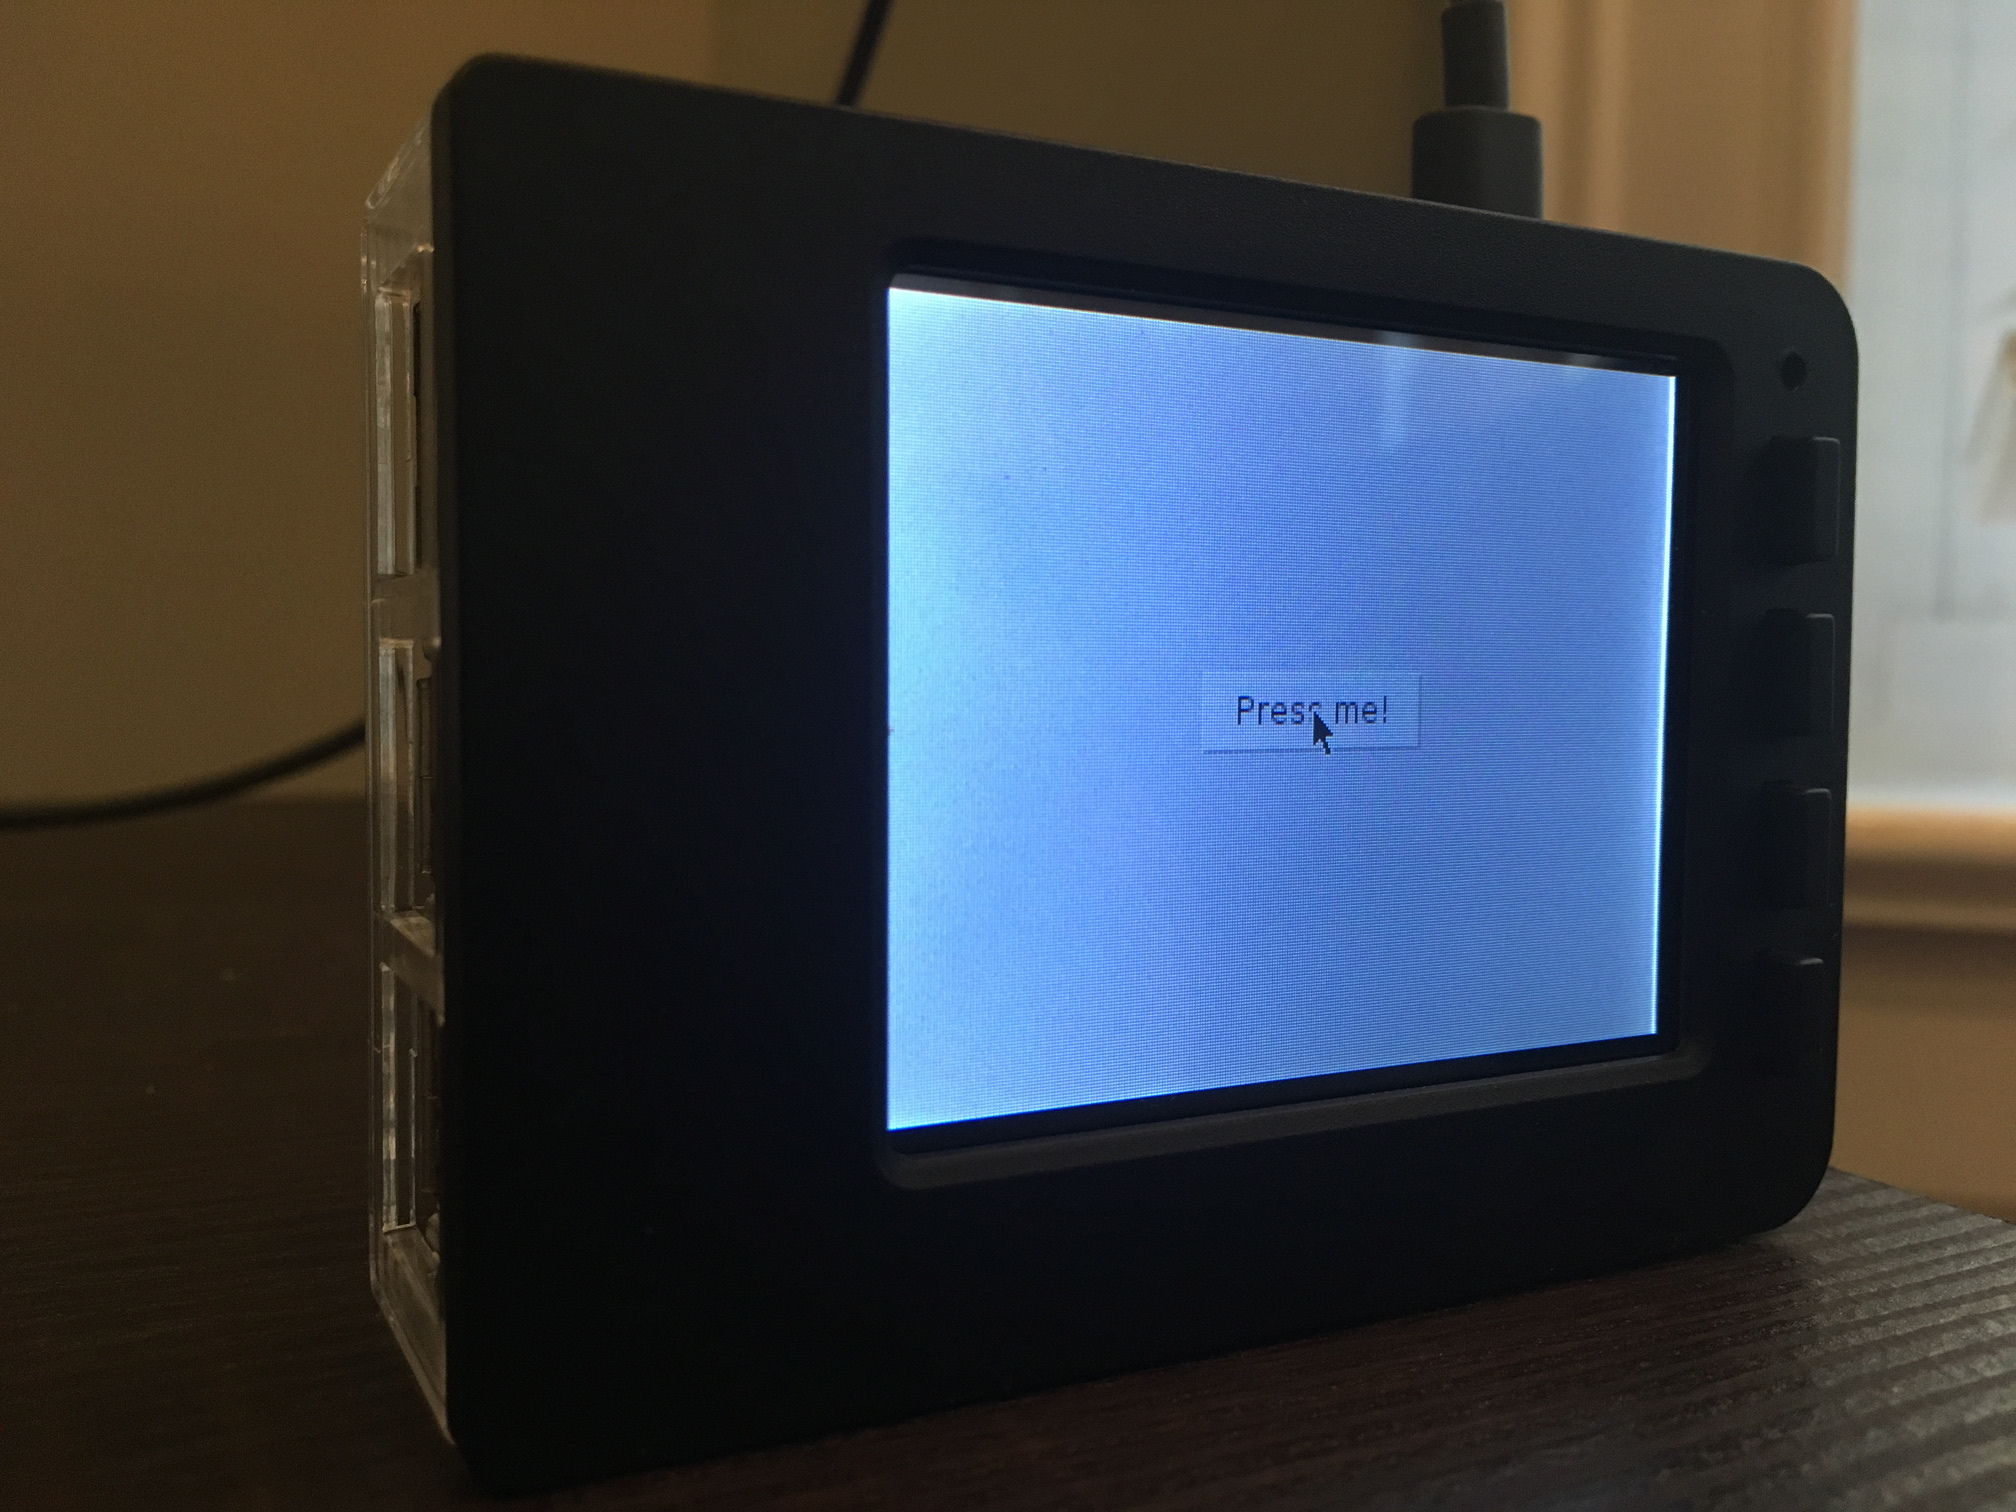
b = tk.Button(self.master, text="Press me!", command=lambda: self.pressed())
b.place(relx=0.5, rely=0.5, anchor=tk.CENTER)
def pressed(self):
print("clicked!")
root=tk.Tk()
root.wm_attributes('-fullscreen','true')
app=FullScreenApp(root)
root.mainloop()
Reboot. The app should launch automatically in fullscreen mode.
Screen On / Off
You can use a script like this to enable or disable the LCD with the first two GPIO buttons tied to the TFT.
#!/usr/bin/env python3

import RPi.GPIO as GPIO
import time
import os

GPIO.setmode(GPIO.BCM)

GPIO.setup(17, GPIO.IN, pull_up_down=GPIO.PUD_UP)
GPIO.setup(22, GPIO.IN, pull_up_down=GPIO.PUD_UP)
GPIO.setup(27, GPIO.IN, pull_up_down=GPIO.PUD_UP)

while True:
    # Screen on
    input_state = GPIO.input(17)
    if input_state == False:
        print('screen on', flush=True)
        print('1', file=open('/sys/class/backlight/soc:backlight/brightness', 'w'))
        time.sleep(0.2)

    # Screen off
    input_state = GPIO.input(22)
    if input_state == False:
        print('screen off', flush=True)
        print('0', file=open('/sys/class/backlight/soc:backlight/brightness', 'w'))
        time.sleep(0.2)

    # Screen off and power off
    input_state = GPIO.input(27)
    if input_state == False:
        print('screen off and power off', flush=True)
        print('0', file=open('/sys/class/backlight/soc:backlight/brightness', 'w'))
        os.system('shutdown -h now')
        time.sleep(3)
You could potentially have the script run at boot by appending the
following to /etc/rc.local towards the end of the
file before it calls the exit command.
python3 -u /home/pi/buttons.py &
It seems there may be a few reasons the TFT/LCD will automatically shut off, and changing the brightness does nothing in that case. So those buttons and the accompanying script would be useless at that point.
The lightdm.conf above should disable the
auto-off behavior of the TFT, but
other methods
may be required as well.
Notes on Adafruit PiTFT Support
As of time of writing, Adafruit offers an installation script that is designed to work with the latest standard/official Raspbian images. Adafruit previously offered custom Raspbian images with TFT support built in. Those images are now deprecated and the use of the script is encouraged.
Unless otherwise noted, or the process changes over time, one should use the installation script as instructed by Adafruit to enable a PiTFT with touch support!
Citations
- Adafruit PiTFT - 2.8" Touchscreen Display for Raspberry Pi
- PiTFT: boot to desktop problem
- Boot to X Windows on PiTFT
- Manual Calibration
- Display fullscreen mode on Tkinter
- Raspberry Pi 3, PiTFT and a modern kernel (bluetooth support!)
- http://www.uugear.com/portfolio/using-2-8-touchscreen-display-on-raspberry-pi/
- https://blog.turboturbo.net/2016/07/09/raspberry-pi-3-pitft-and-a-modern-kernel/