Recovering Data From a Proprietery Mac M2 SSD
This article was last edited over 3 years ago. Information here may no longer be accurate. Please proceed with caution, and feel free to contact me.
I am not an expert on the history or current state of M2 devices, so please pardon any time I misspeak or make an error here. The same goes for my understanding of Mac hardware in general.
A friend of mine recently suffered critical damage to their A1502 13.3" 2013 MacBook Pro. Although the device was no longer usable and a replacement machine was required, we wanted to see if we could access the hard drive and dump any data. After purchasing a pentalobe screwdriver set from Micro Center we were able to open the laptop and remove the M2 SSD drive from the MBP.

This is when we realized some more effort was involved than originally thought. The M2 SSD used in this model MacBook Pro uses a proprietery/uncommon key and pin configuration. This device has 12 + 16 pins, which does not conform to a common M2 standard.
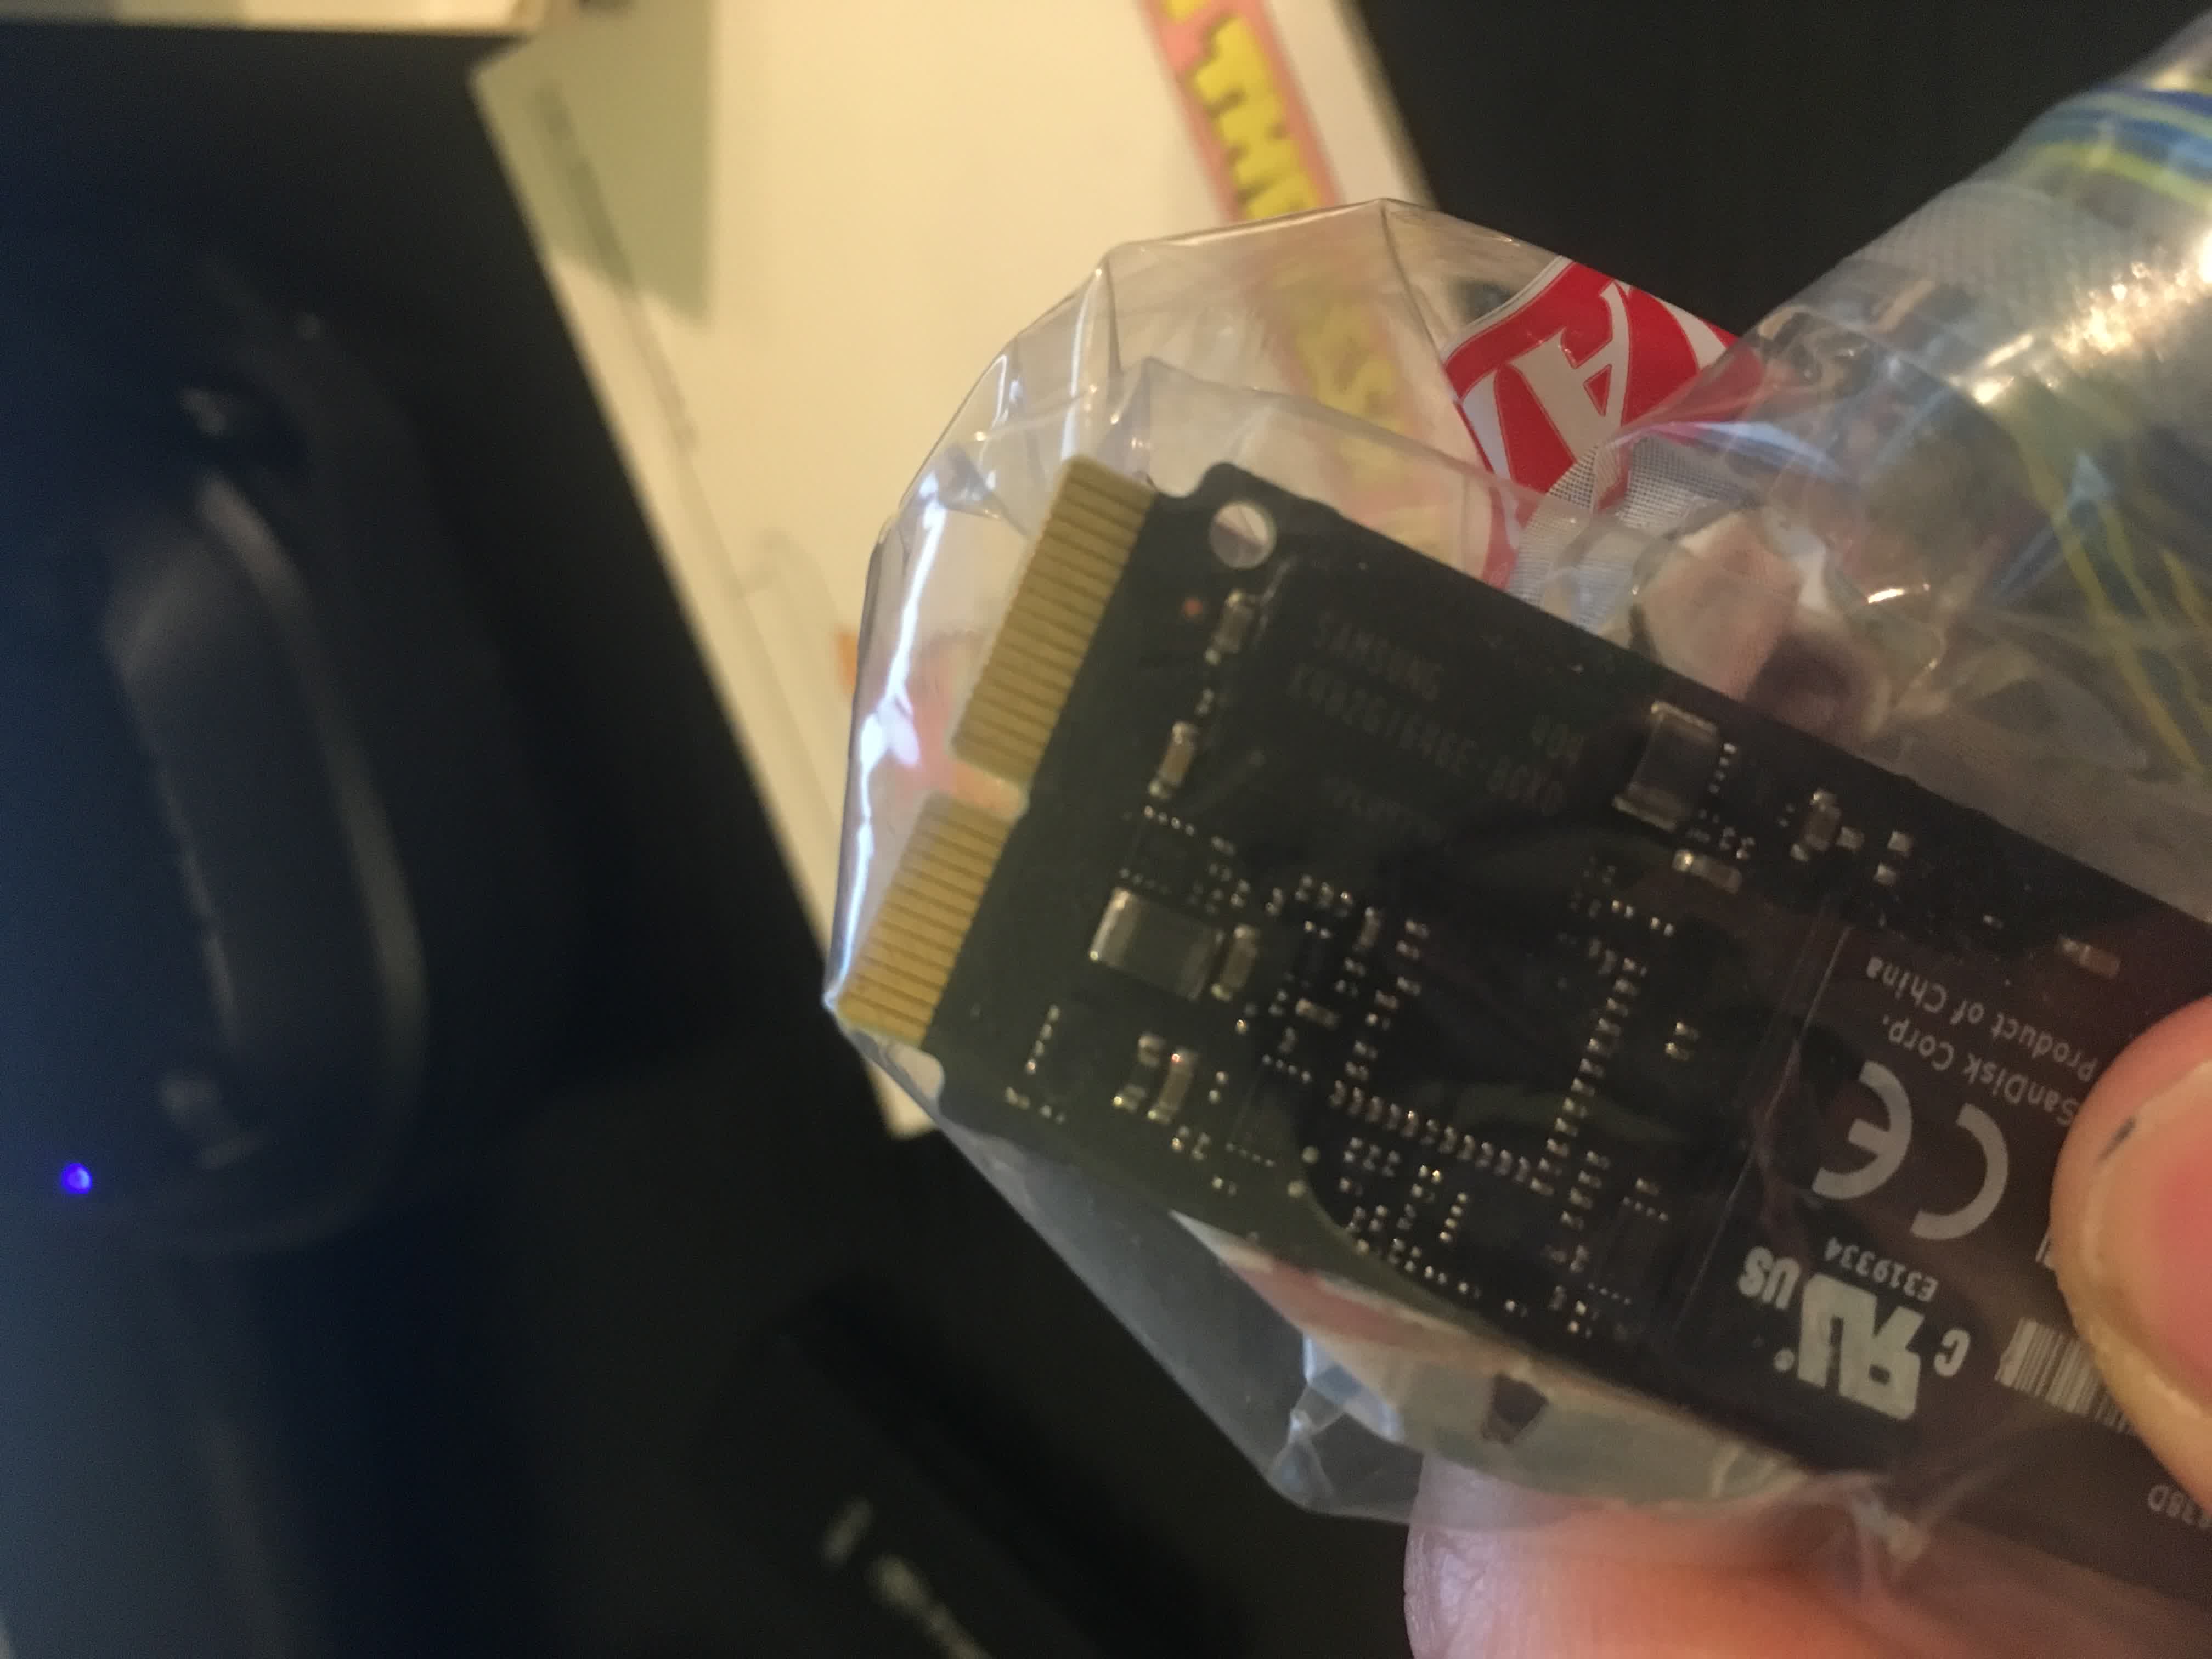
I found several devices and enclosures online for this type of M2 SSD, but they were all unusually expensive, which I suppose makes sense as this is not a common use case. In hindsight, some of these seem just affordable enough and are definitely simple enough that it may be worth it to buy them as opposed to taking the steps I took below.
I ended up looking at simpler (and cheaper) adapters that would
allow me to mount the M2 SSD in my Desktop motherboard so that I
could read the data. I settled on the
Sintech M.2 M Key 28Pin SSD Adapter, Compatible for MacBook SSD
2013-2015 Year. A major reason I chose this particular adapter is because it
said it supported 12 + 16 pins and it listed the
model of my SSD explicitly, which is the
SD6PQ4M-256G-1021H 256GB SDNEP 655-1838D model.

This adapter essentially does what the enclosures above do. They all allow connecting this proprietary Apple M2 SSD to something more common so we can dump data off it.
The catch is that the enclosures above plug directly to a computer via USB which is very simple and straightforward. This Sintech adapter I bought is cheaper, but far less convenient. The Sintech adapter I bought has a slot and screw hole for mounting the Apple M2 SSD, and then the adapter itself has a standard M key M2 SSD connector that allows plugging the adapter into a generic M2 motherboard (or enclosure) slot.
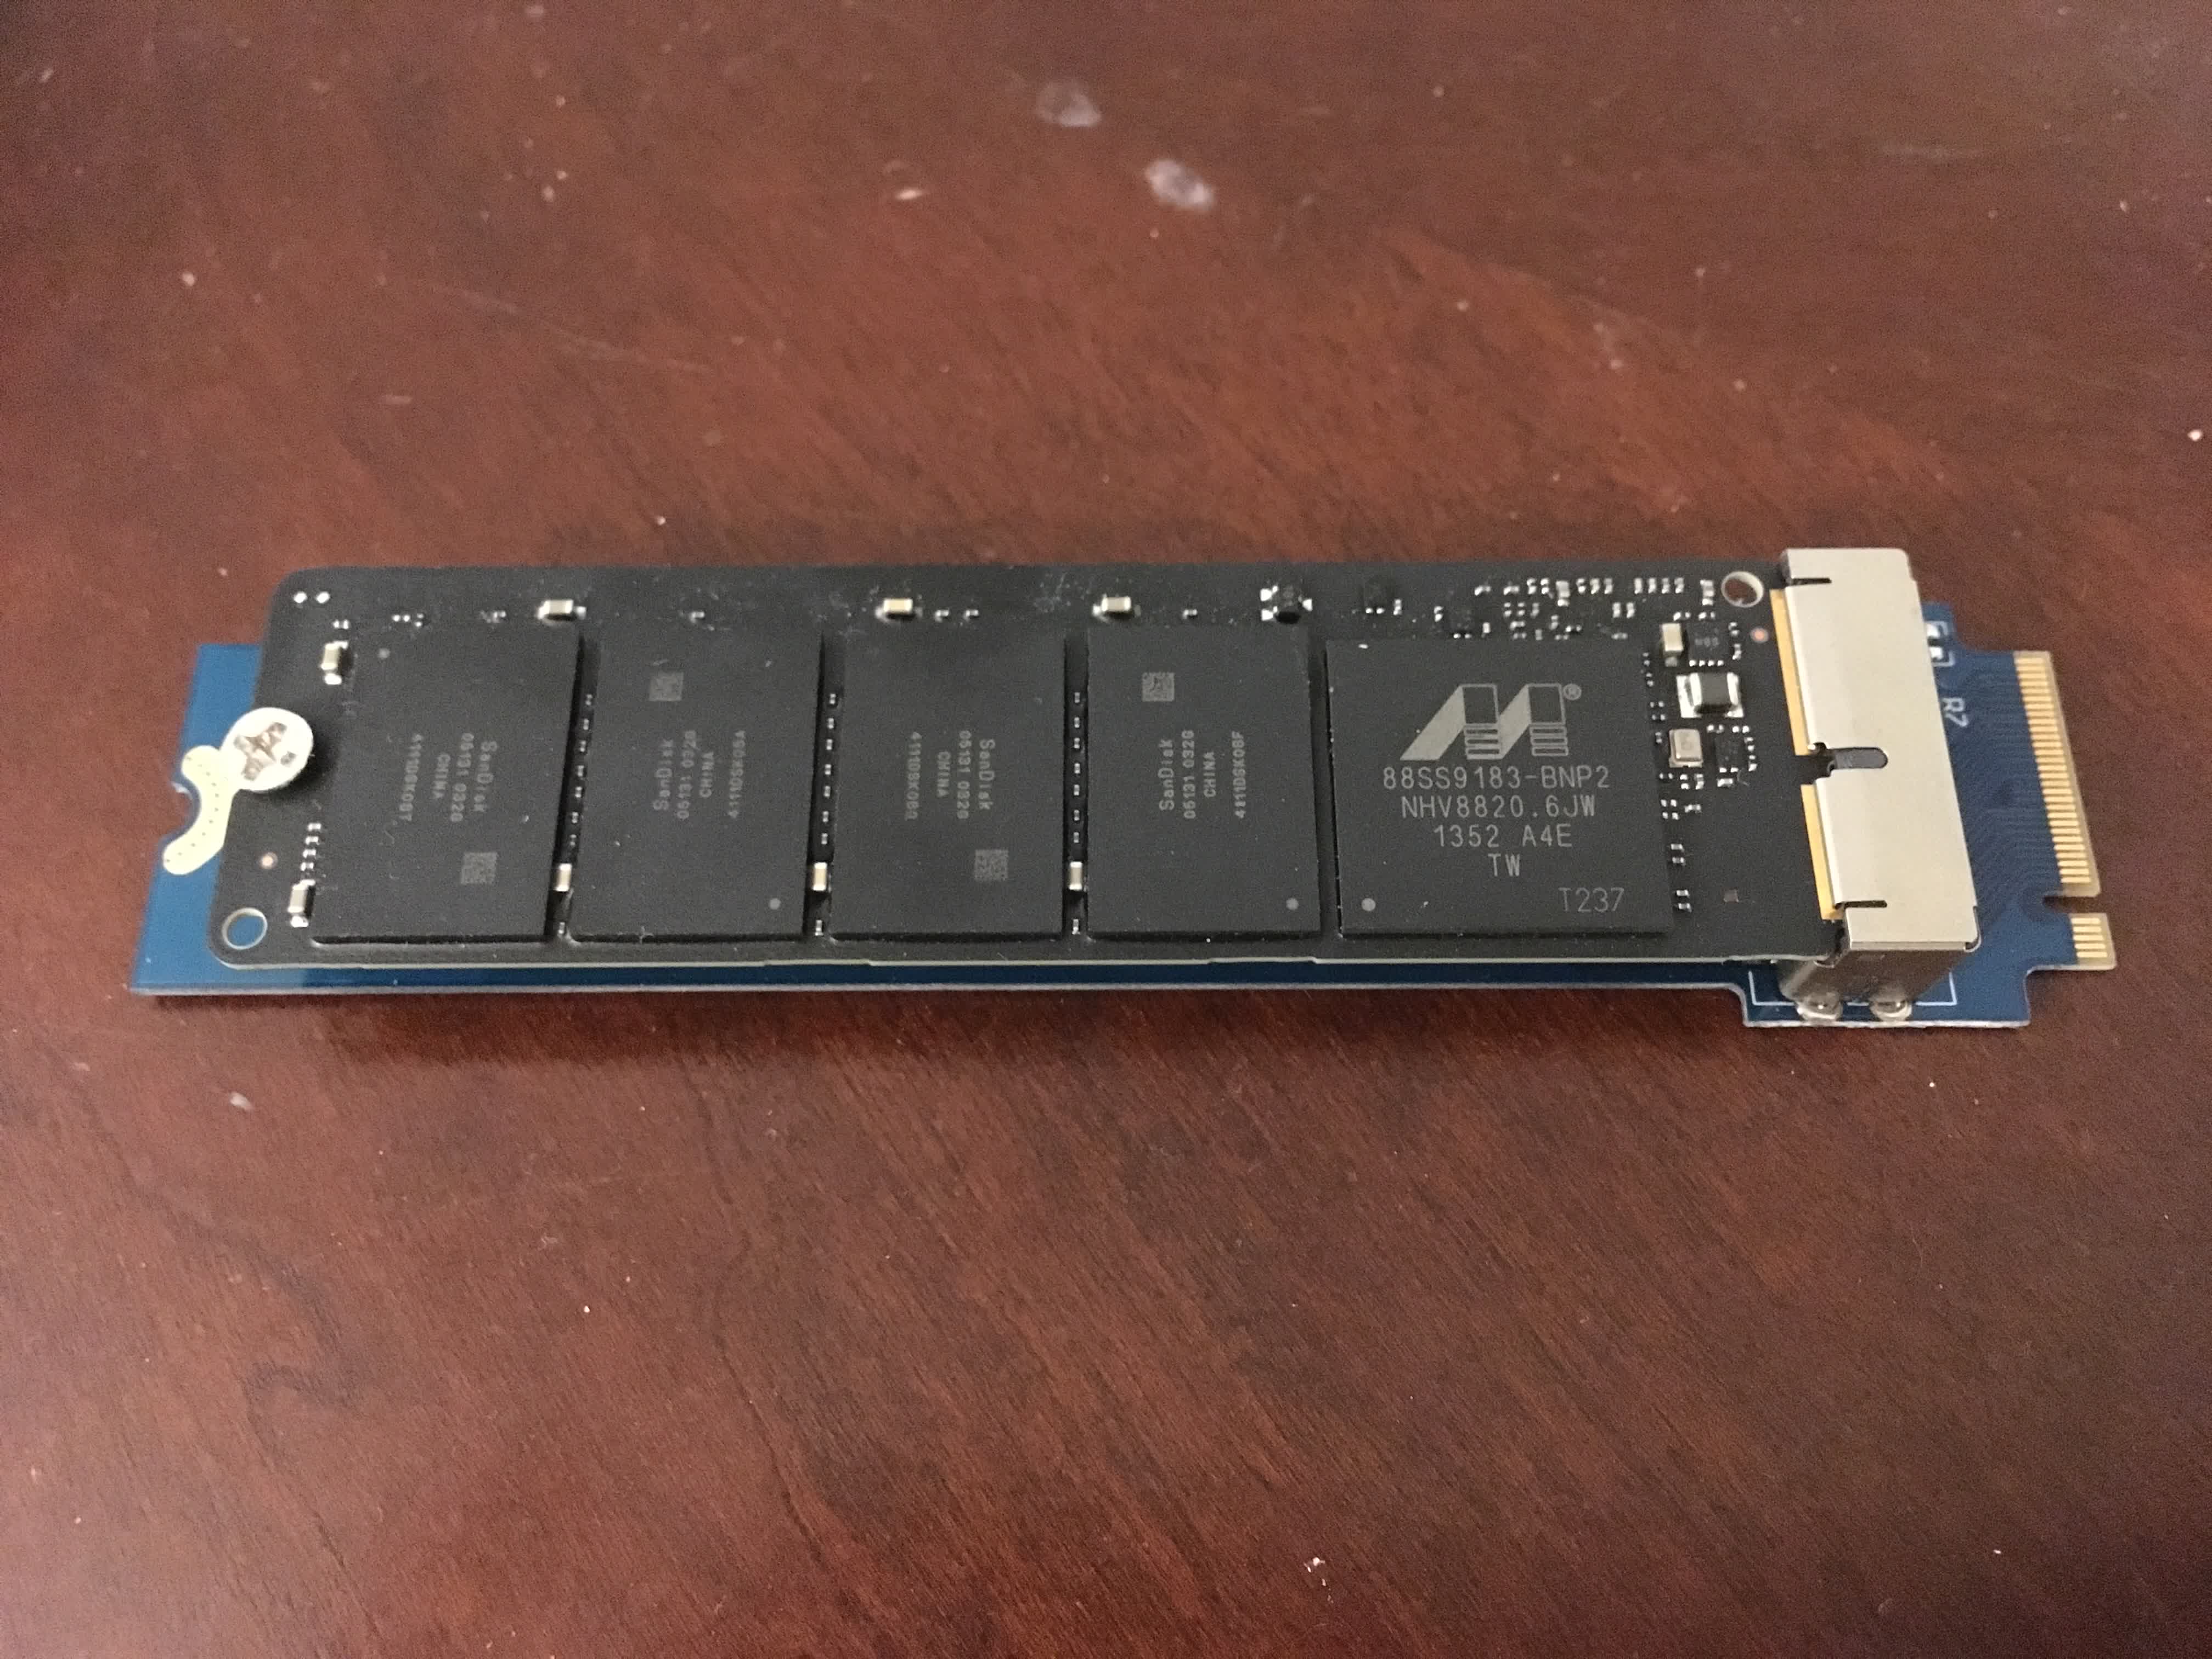
You’ll want to make sure the SSD is snug in the adapter. You should not see any part of the exposed pins. It may take a very slight bit of force, but force none the less.
This is where things got a bit interesting, and (again, in hindsight) it may have been worth it to buy an all-in-one enclosure like mentioned above rather than trying to mount the device to my motherboard and manually access the data through my Desktop’s M2 interface.
I am no expert, but I believe that there are (at least) a couple interfaces that M2 SSD devices use. PCI vs traditional SATA-like interfaces. My motherboard has two M2 slots. One of the slots (I believe) uses a PCIe interface for M2 devics and one uses a SATA interface for M2 devices. See here an example where Newegg is selling a PCIe M2 SSD and another example where it is selling a SATA III M2 SSD. The way these devices present themselves to the motherboard is not the same! These SSDs look the same physically, but a motherboard will require the correct interface for a given M2 device and will interact with them differently.
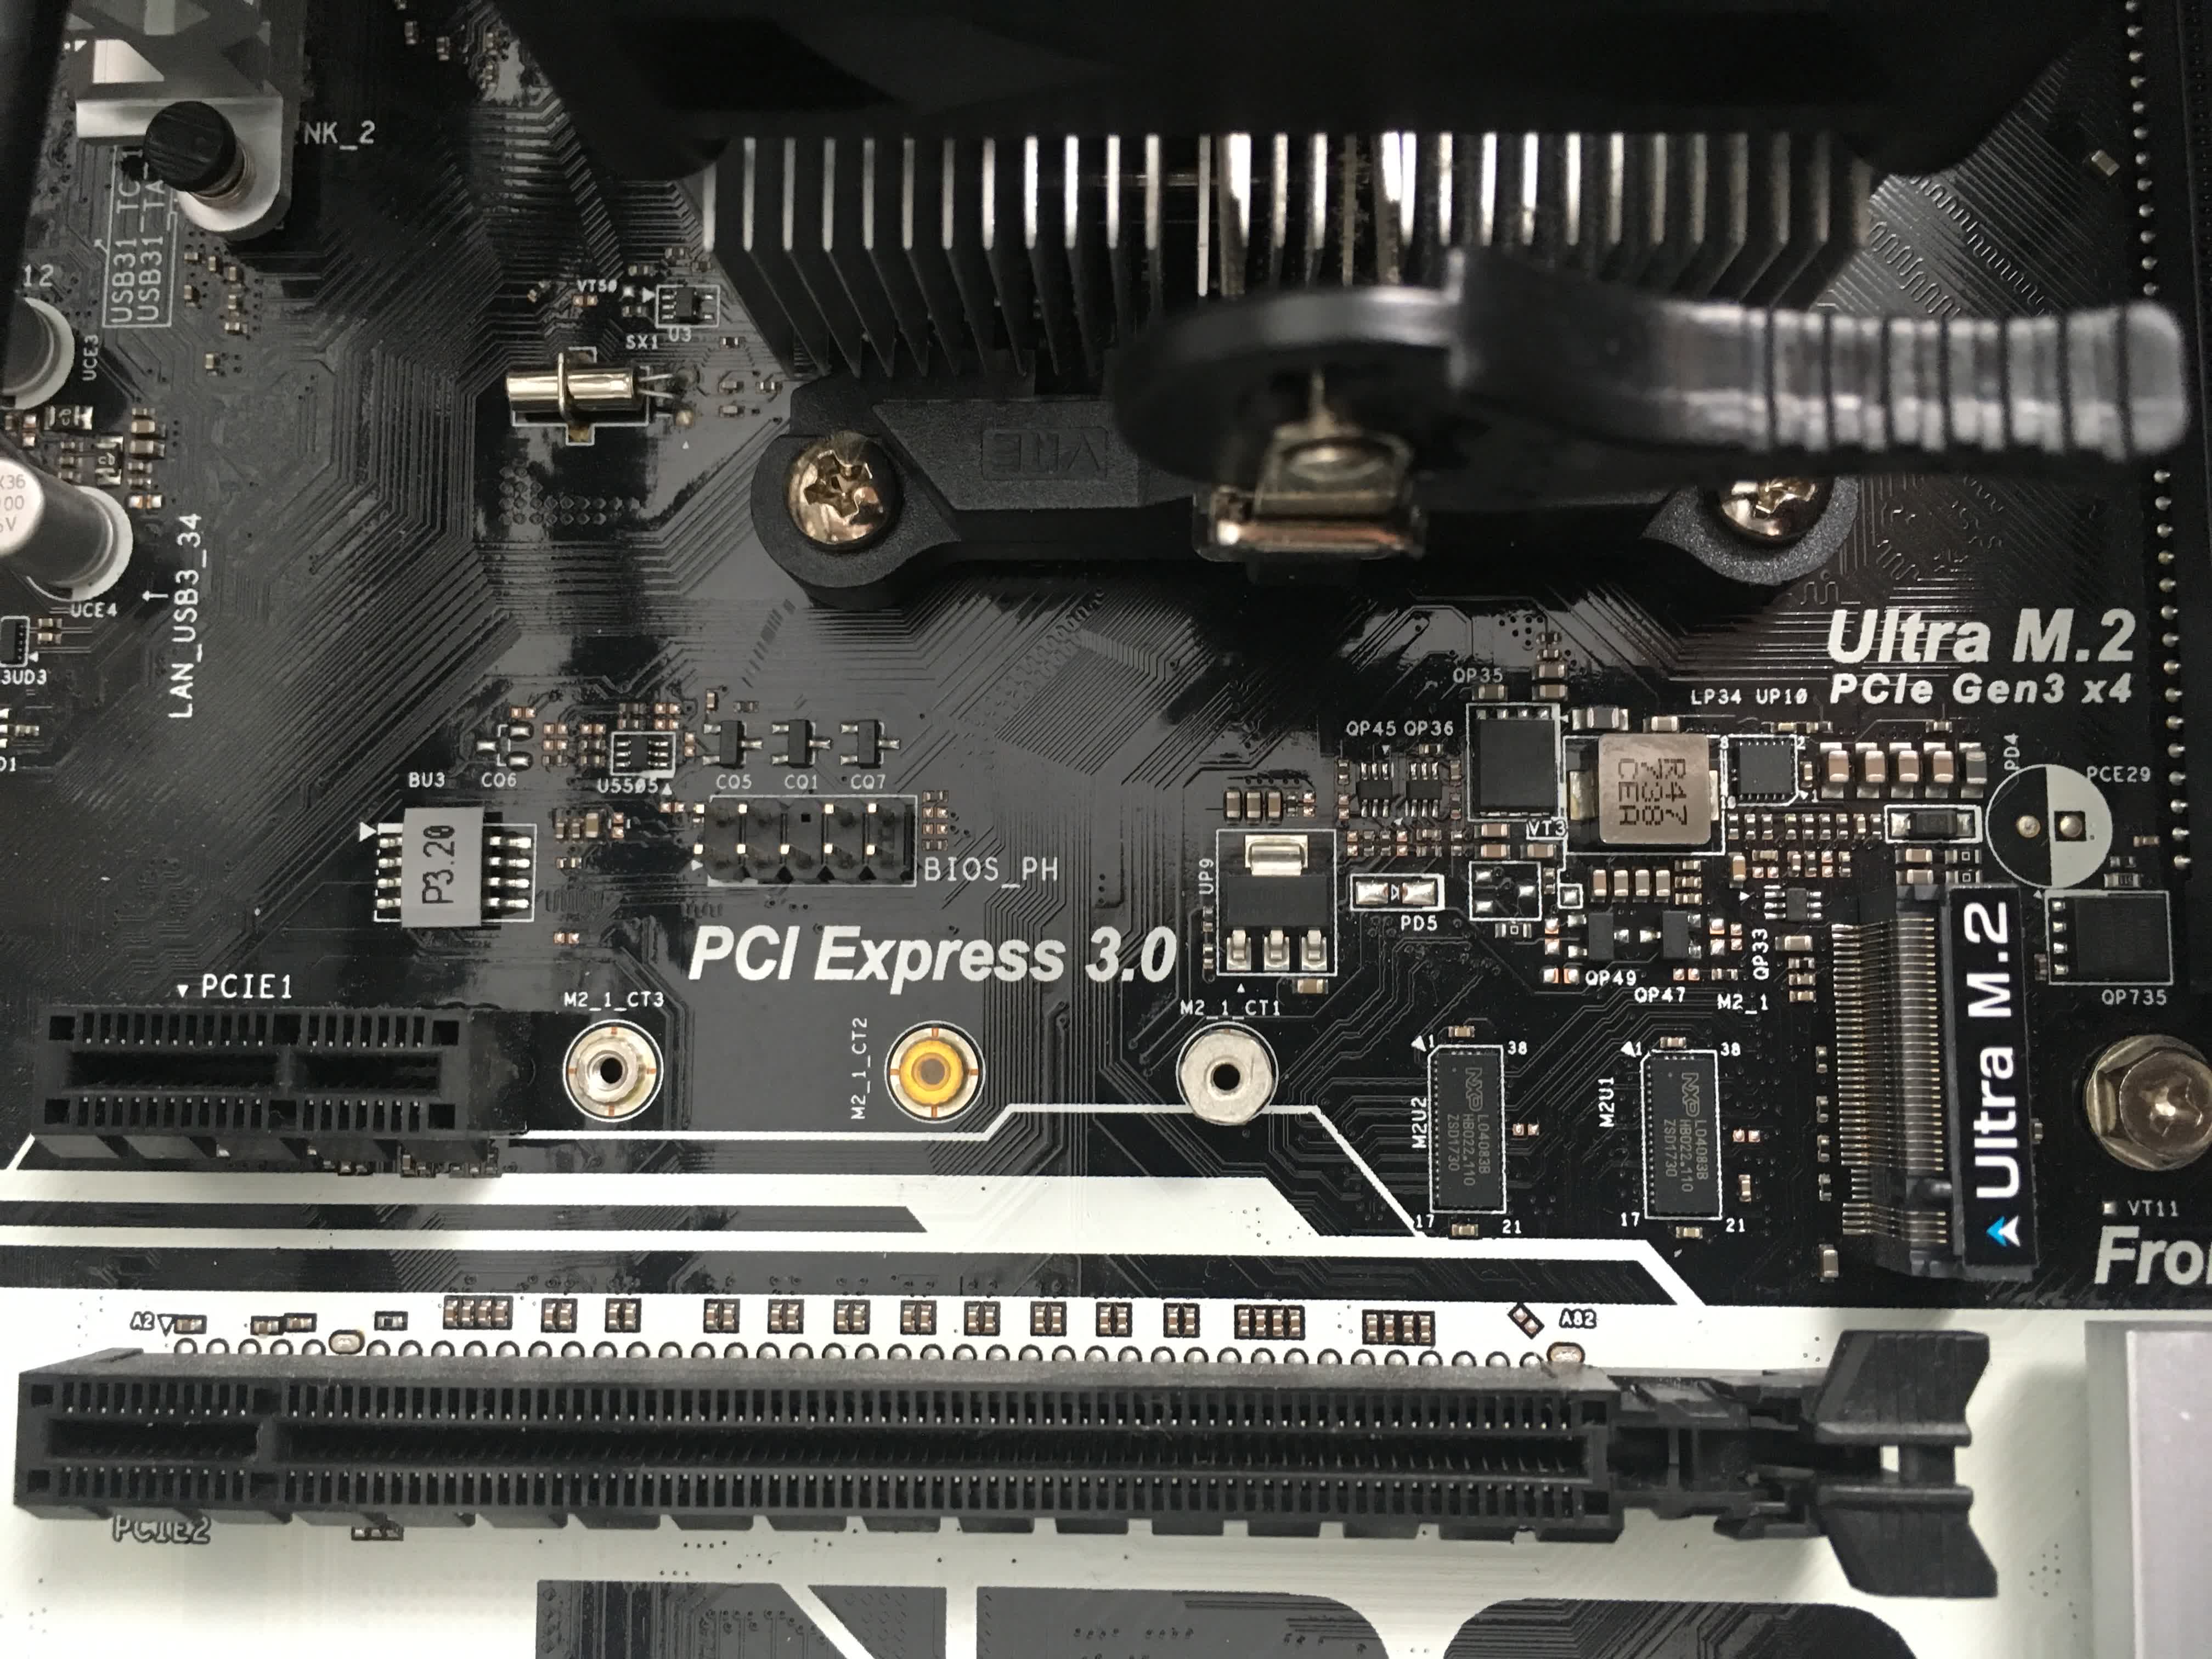
One of my slots uses PCIe for the M2 SSD.
The other M2 slot on my motherboard uses a standard SATA interface for the M2 SSD.
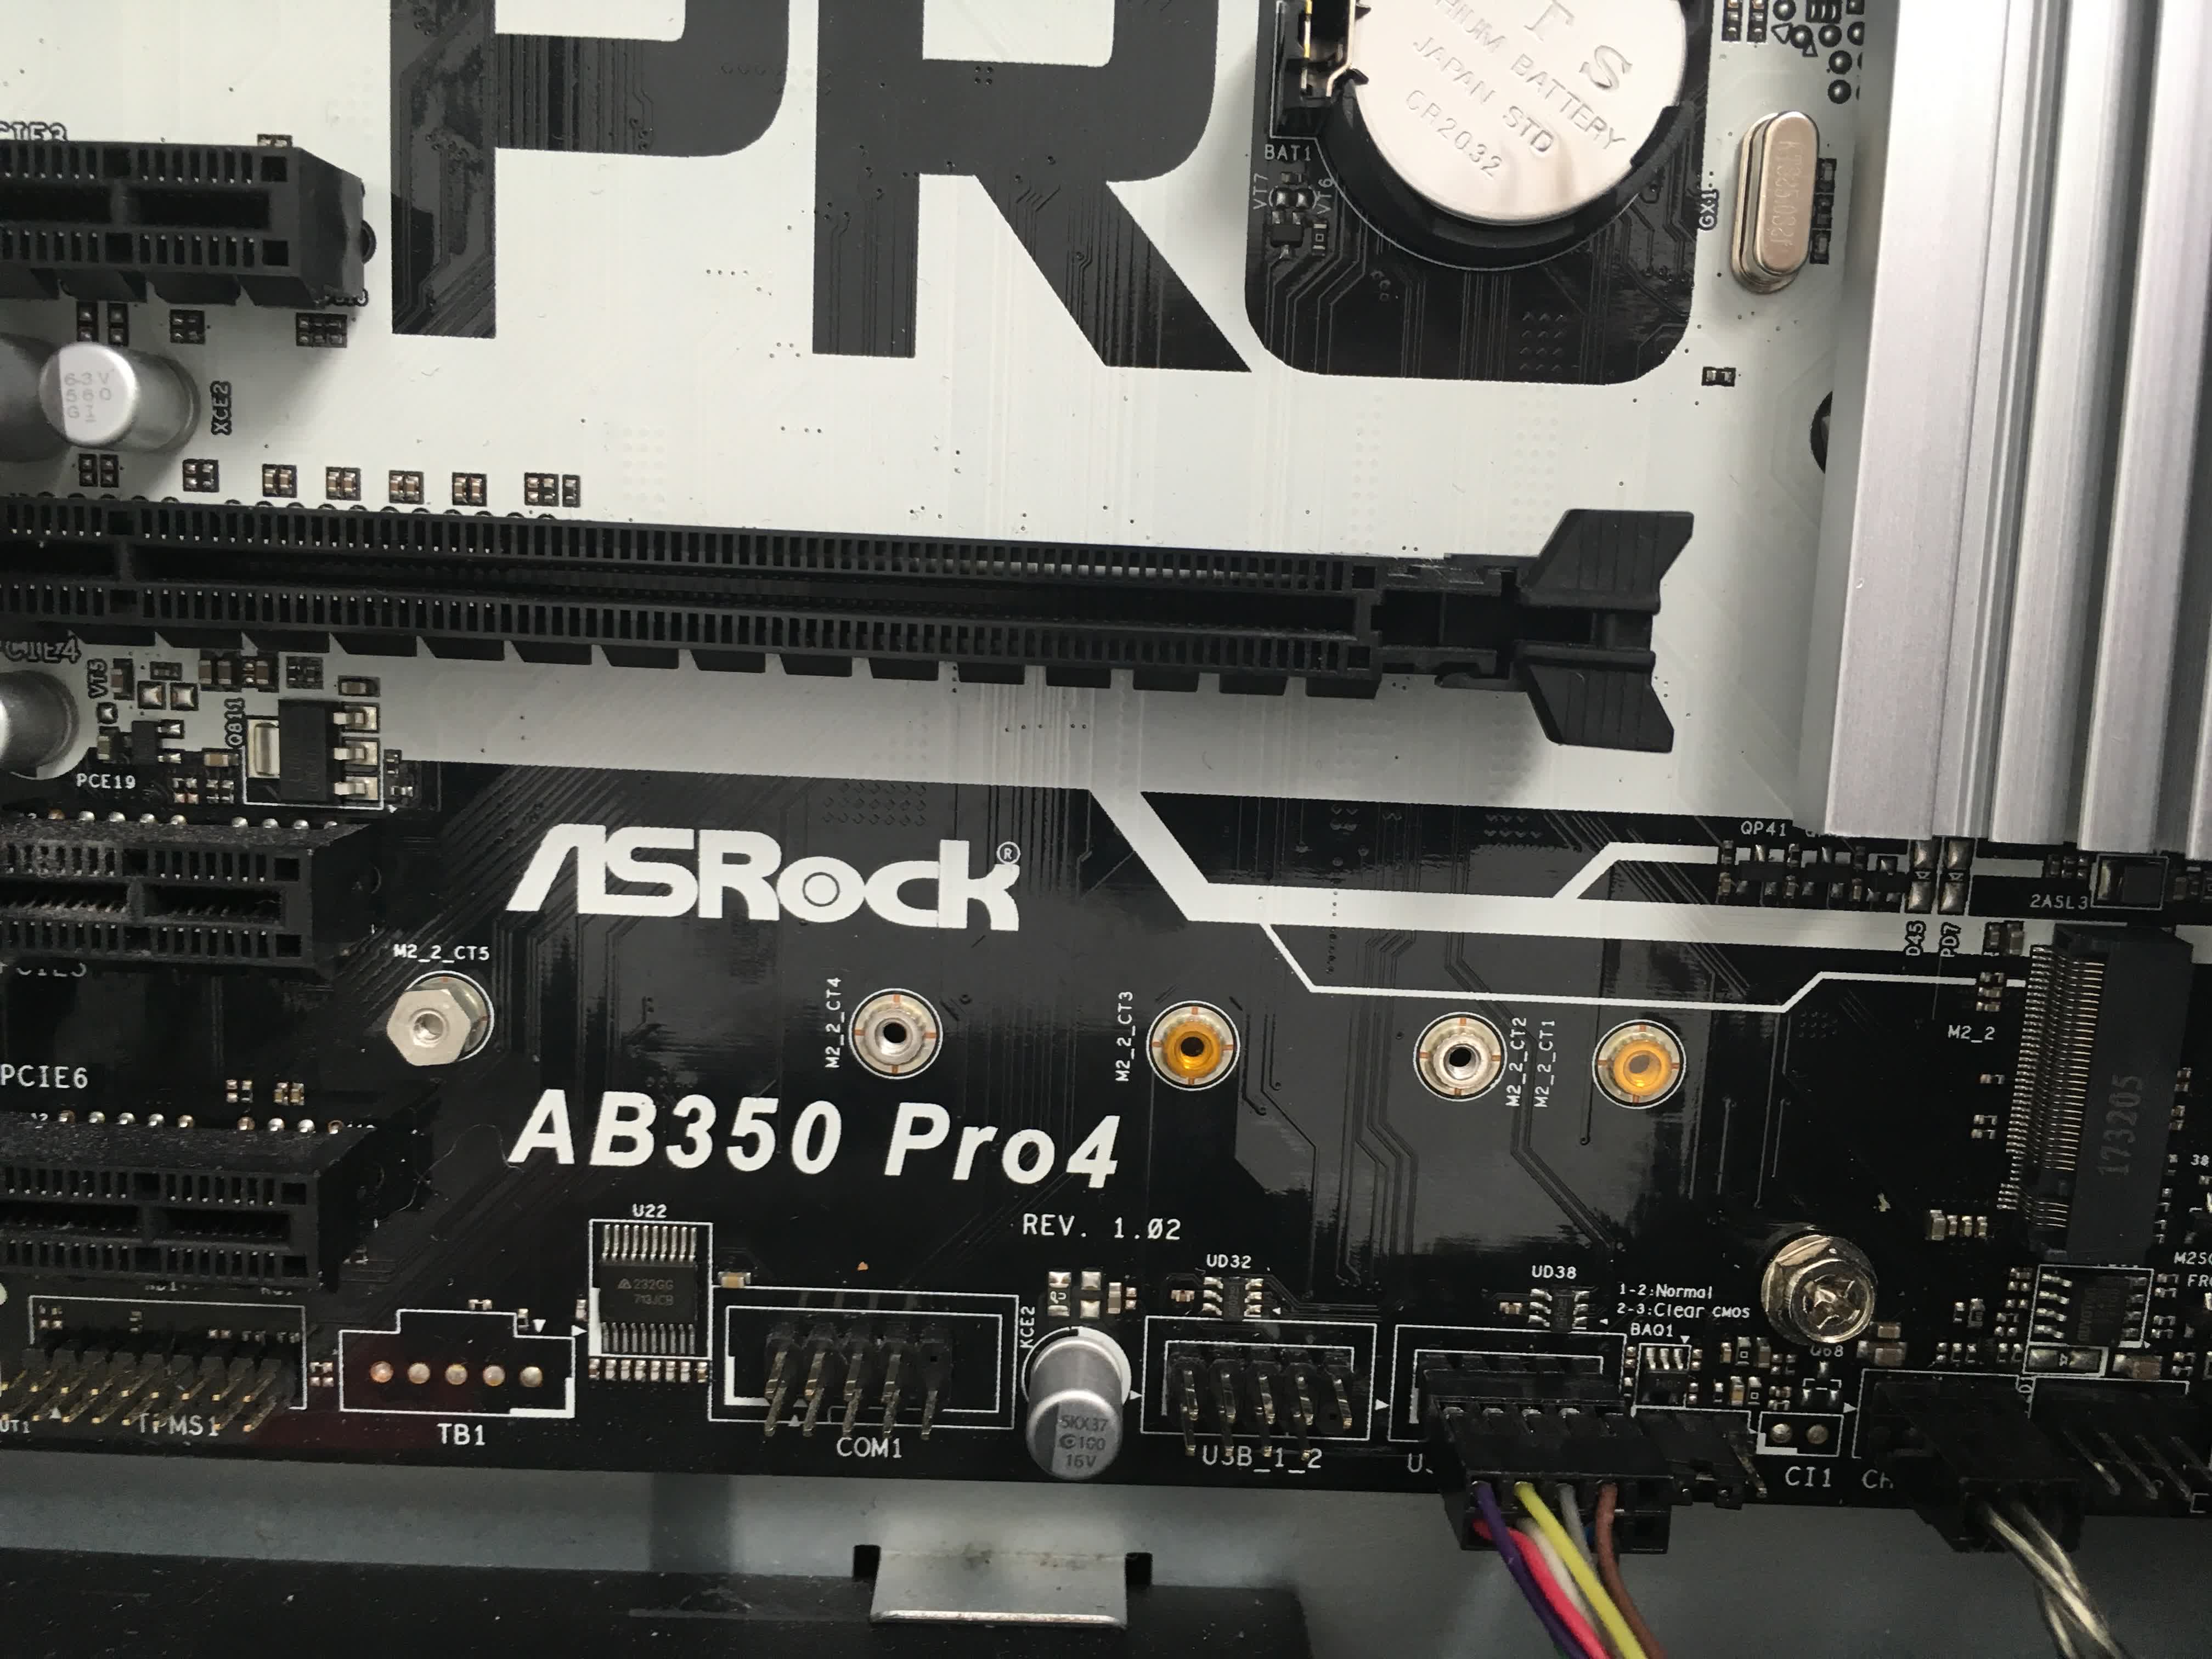
Note, both of these slots are M-keyed M2 slots! Both of them are physically the same in terms of pins and the connector, but the way they interface with the Motherboard and the M2 devices they support varies based on whether it is a SATA M2 SSD or a PCIe M2 SSD.
I believe (from my light reading) that PCIe M2 SSDs supports faster speeds, but the SATA M2 SSD devices offer better compatability with most motherboards as they act like normal SATA drives. You should Google the topic to try and find out more if you are curious.
I connected the adapter (with the SSD in it) to the SATA M2 slot on my motherboard at first.
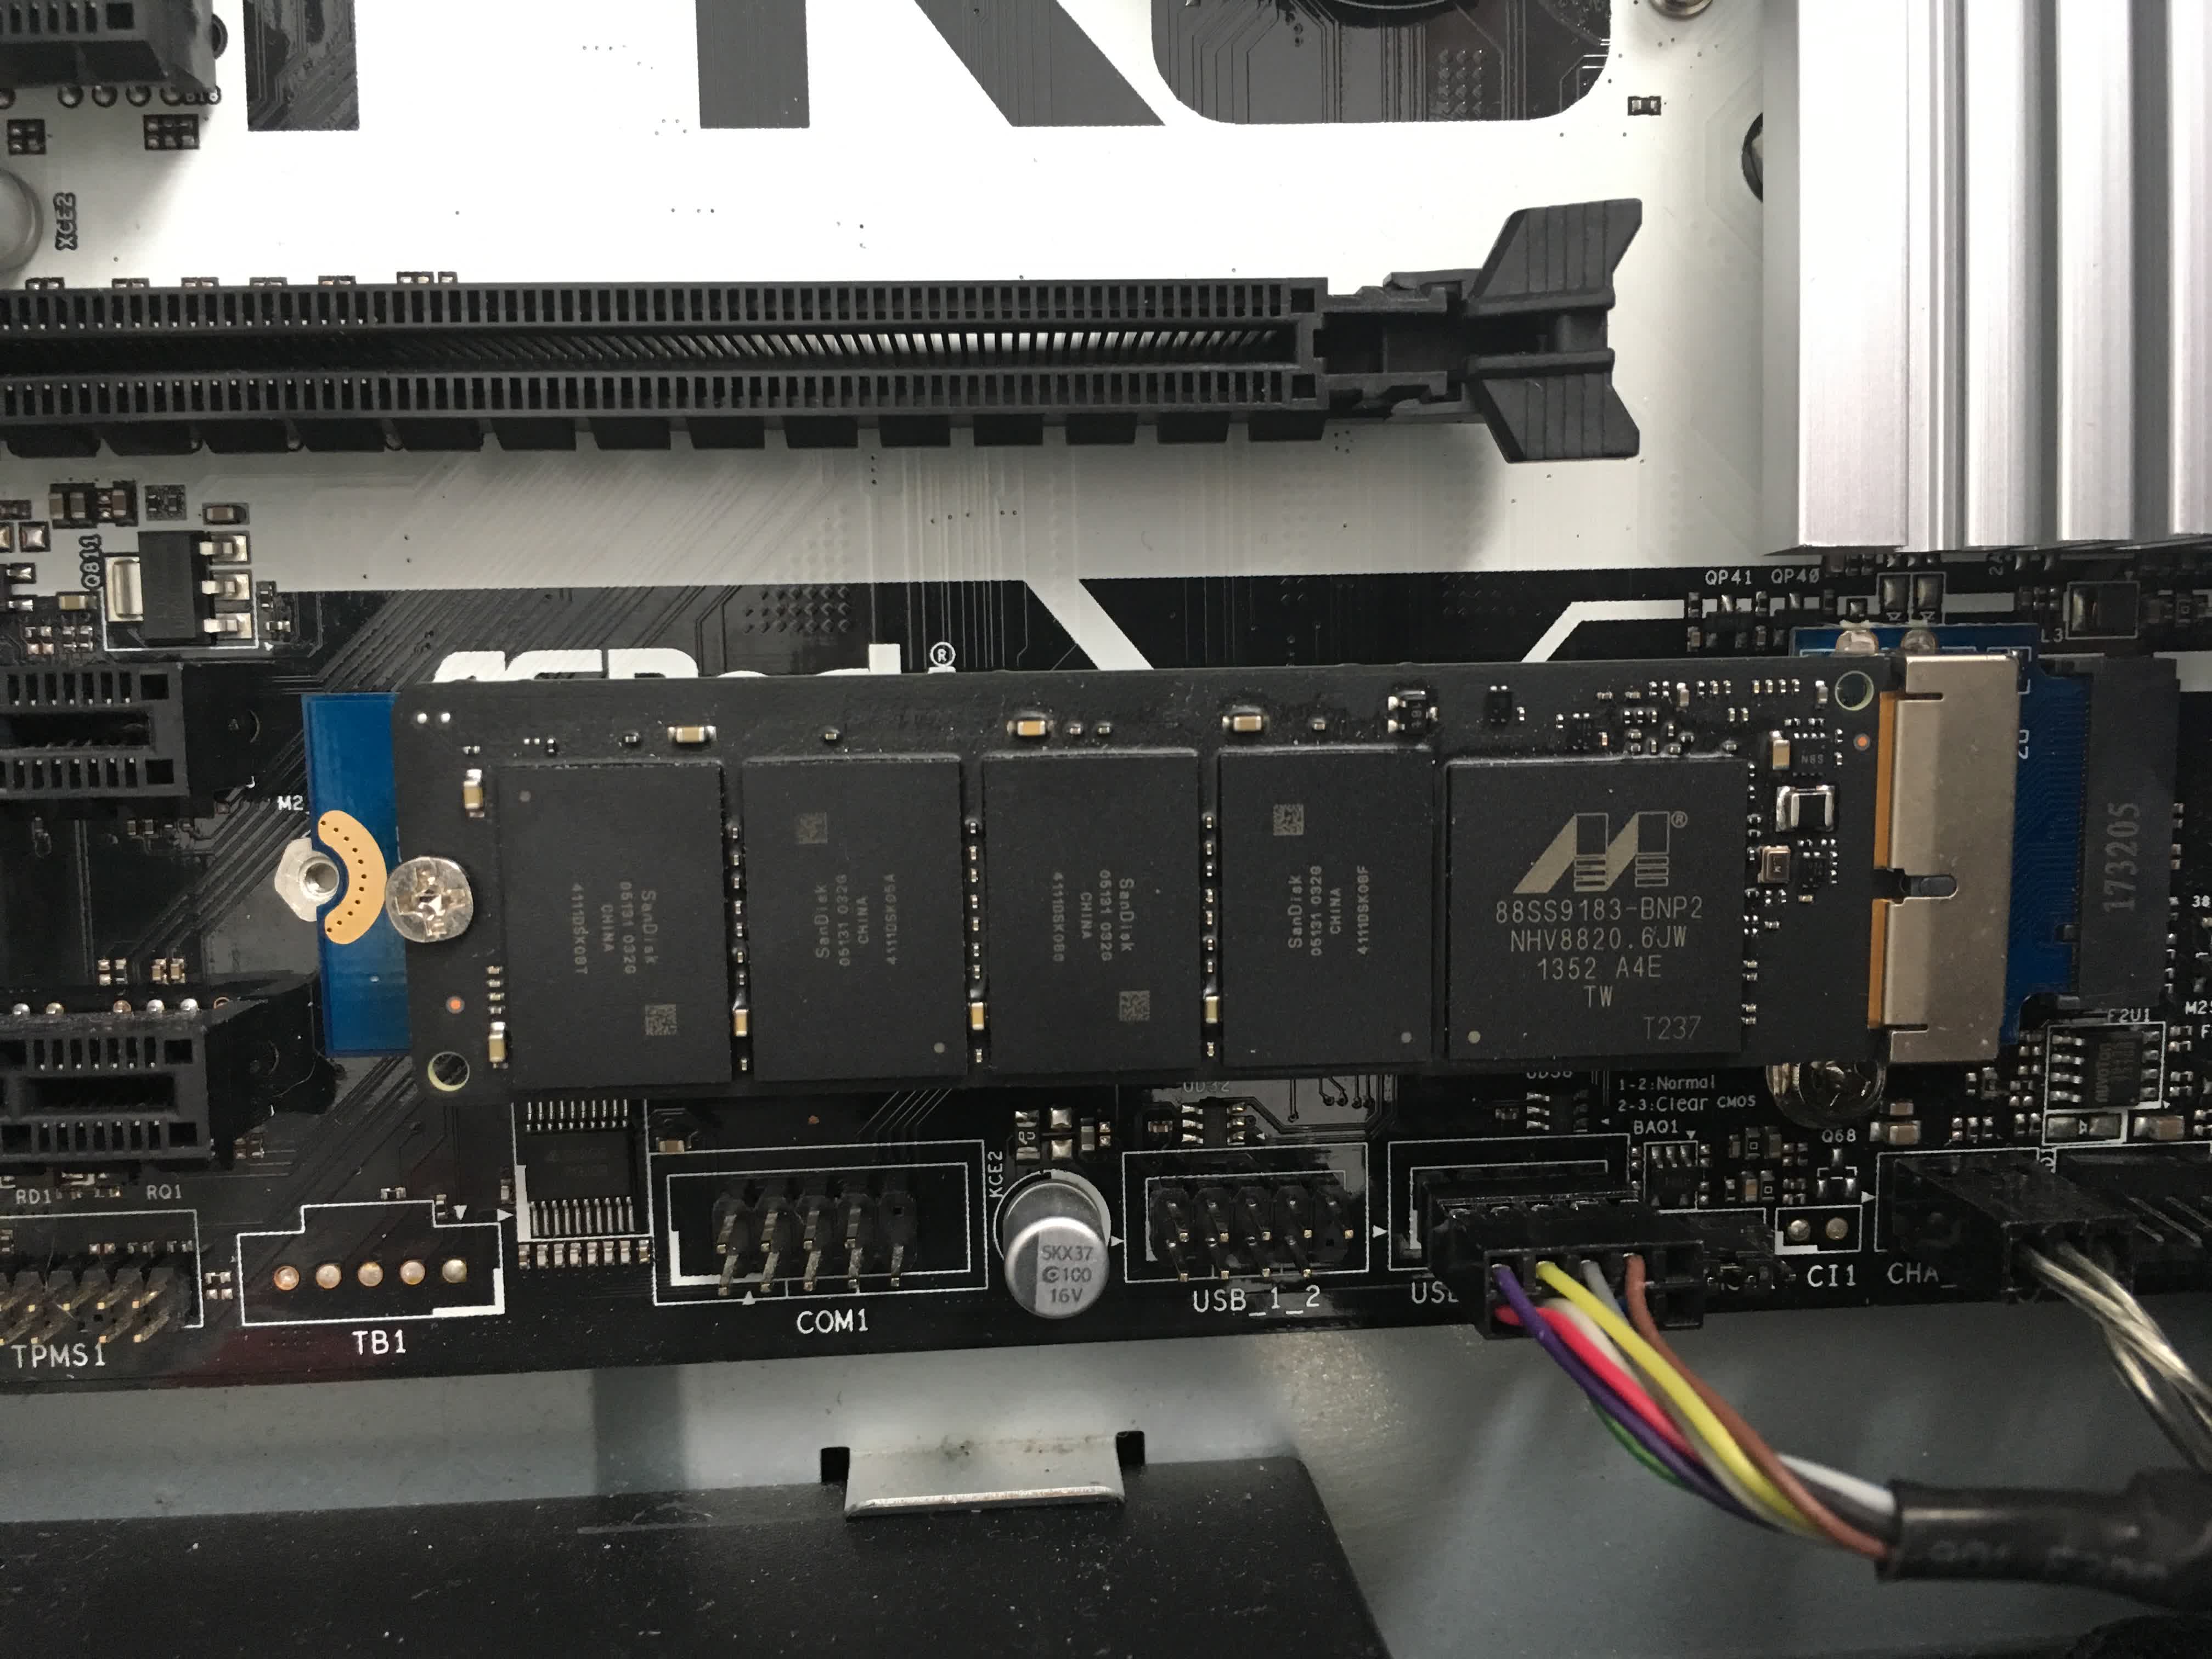
It physically fit fine, but my BIOS never saw the device. I tried and tried to get my motherboard to detect it in the SATA M2 slot, but nothing worked. Updating the BIOS, reseating the device, tweaking system settings, nothing seemed to do the trick.
Note how my BIOS differentiates between the two M2 slots! One is PCIe and one is a SATA
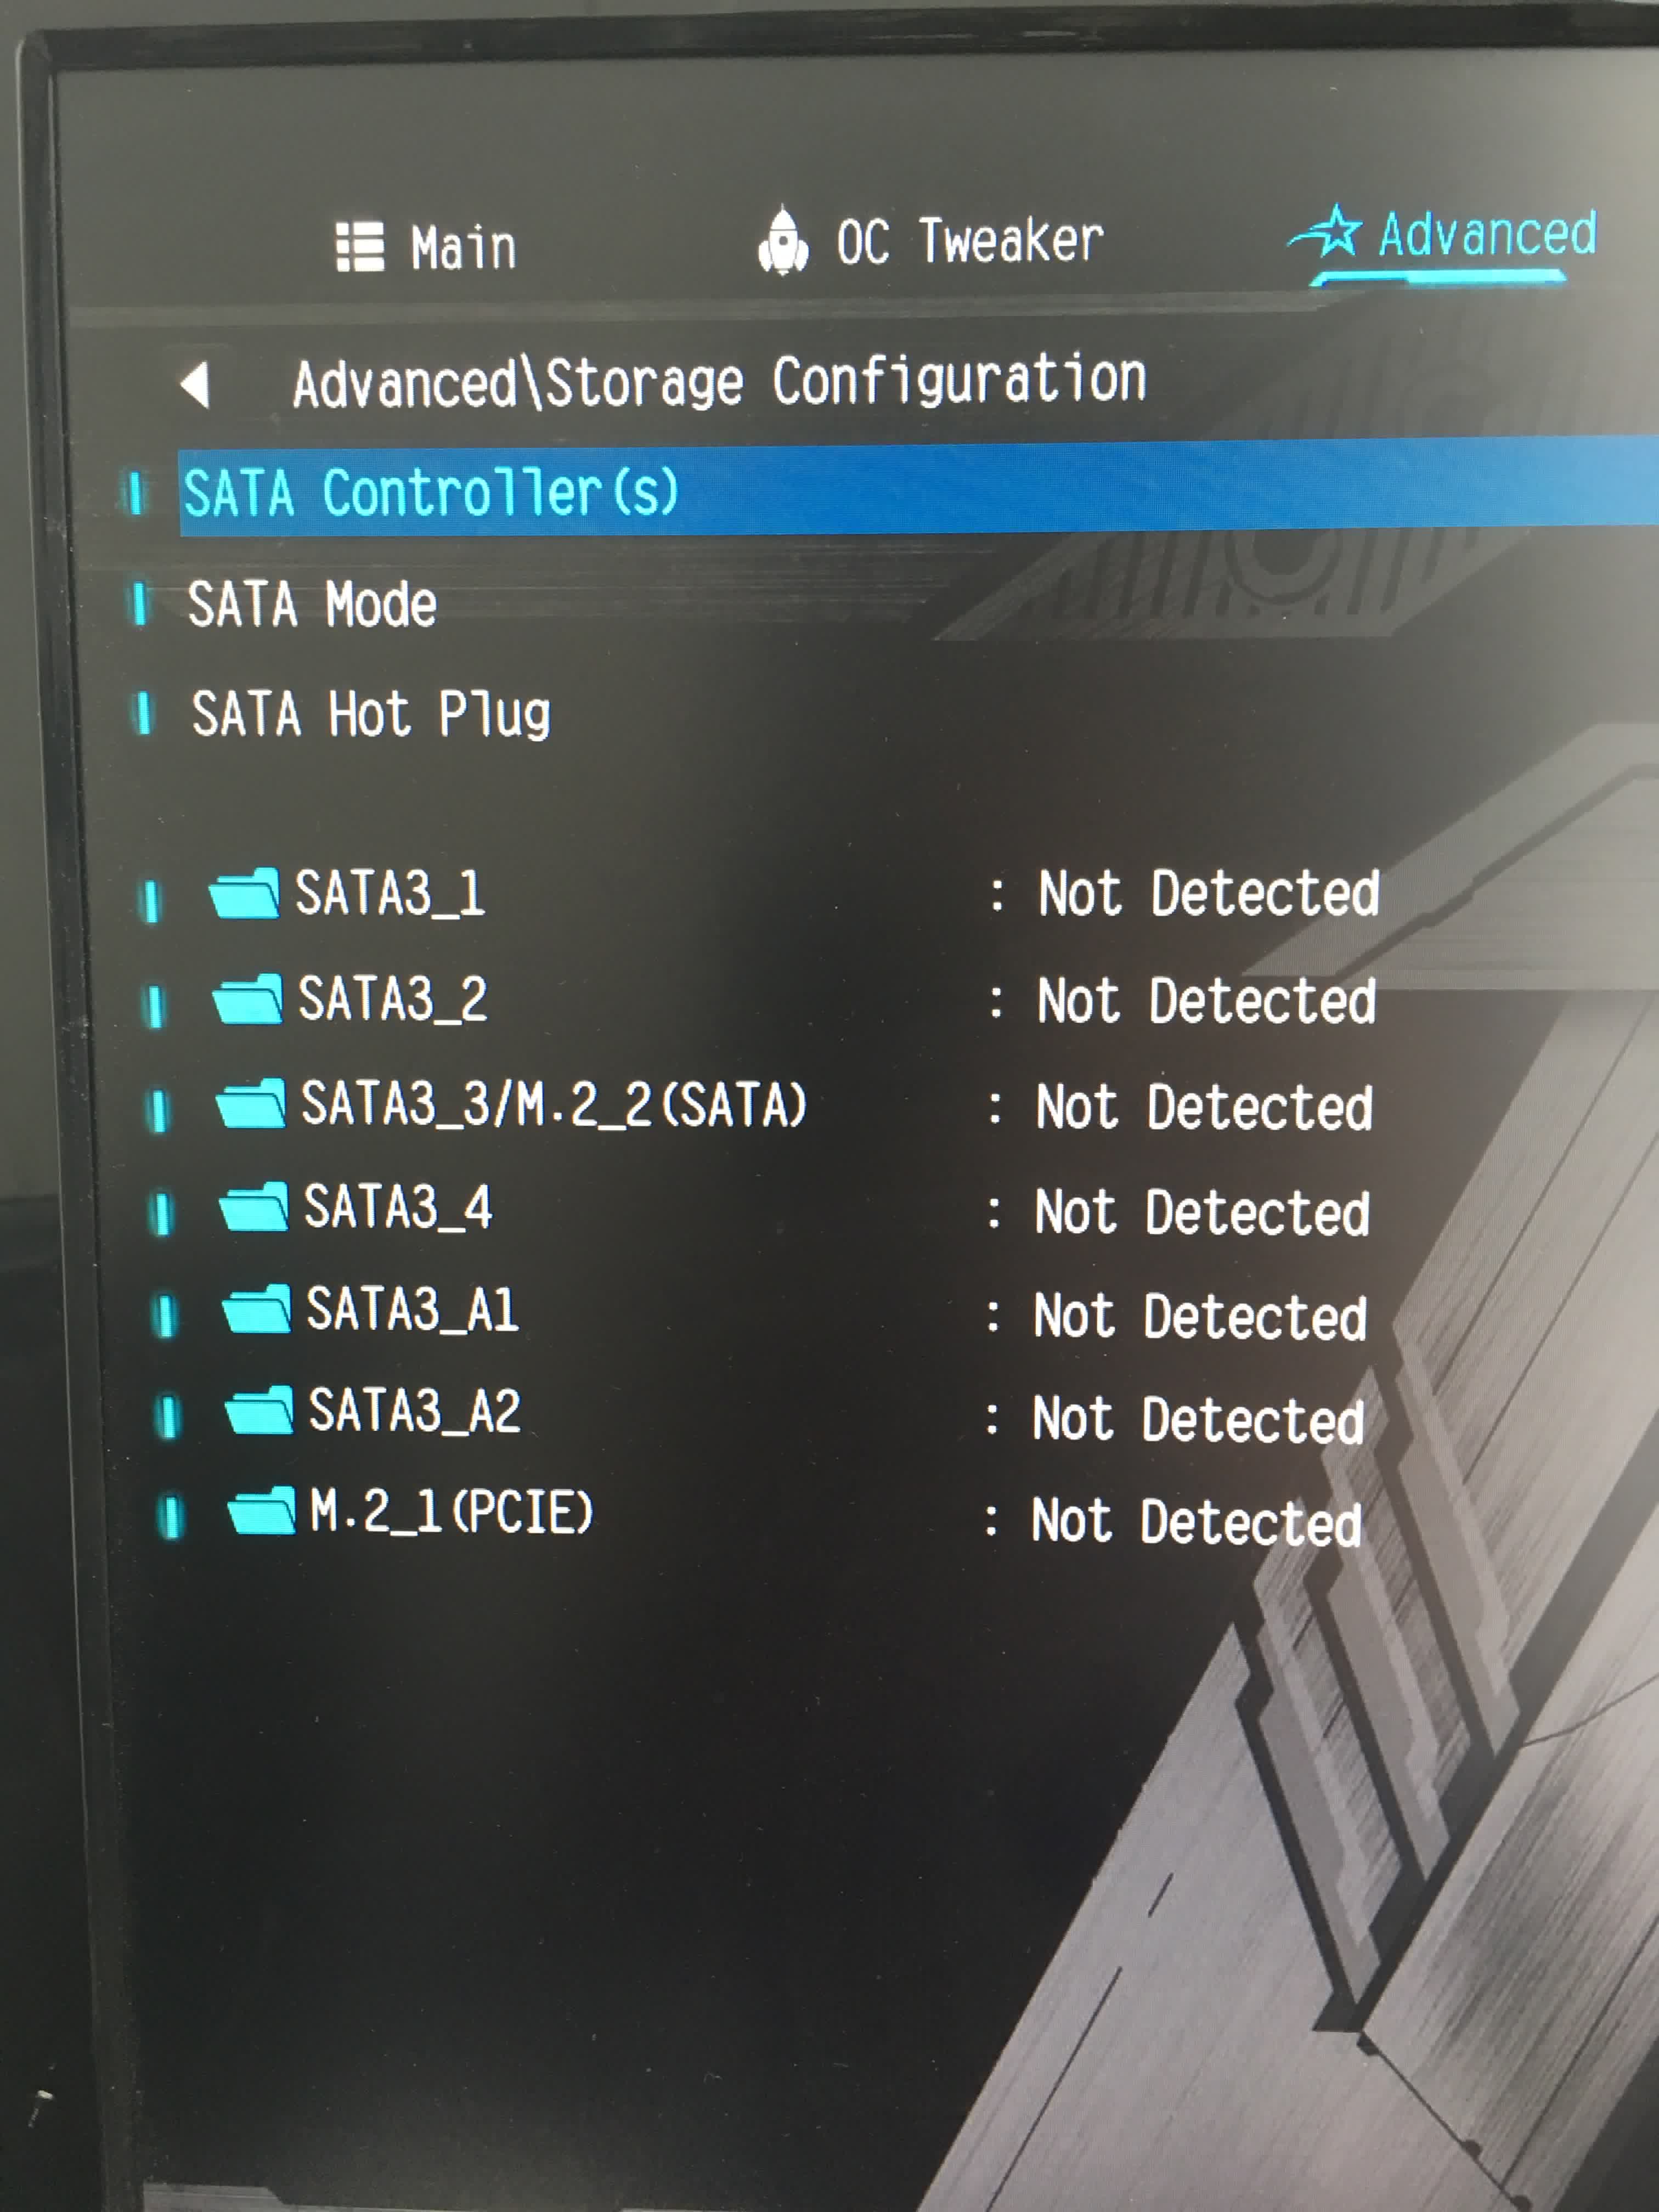
Eventually I thought the M2 device must have been damaged along with the rest of the laptop and so the data was unrecoverable. After I just about gave up, I decided to try the other M2 slot. Here, the pins on the adapter also lined up fine and the device fit. Again, make sure that the adapter is snugly fastened in. None of the pins should be visible!
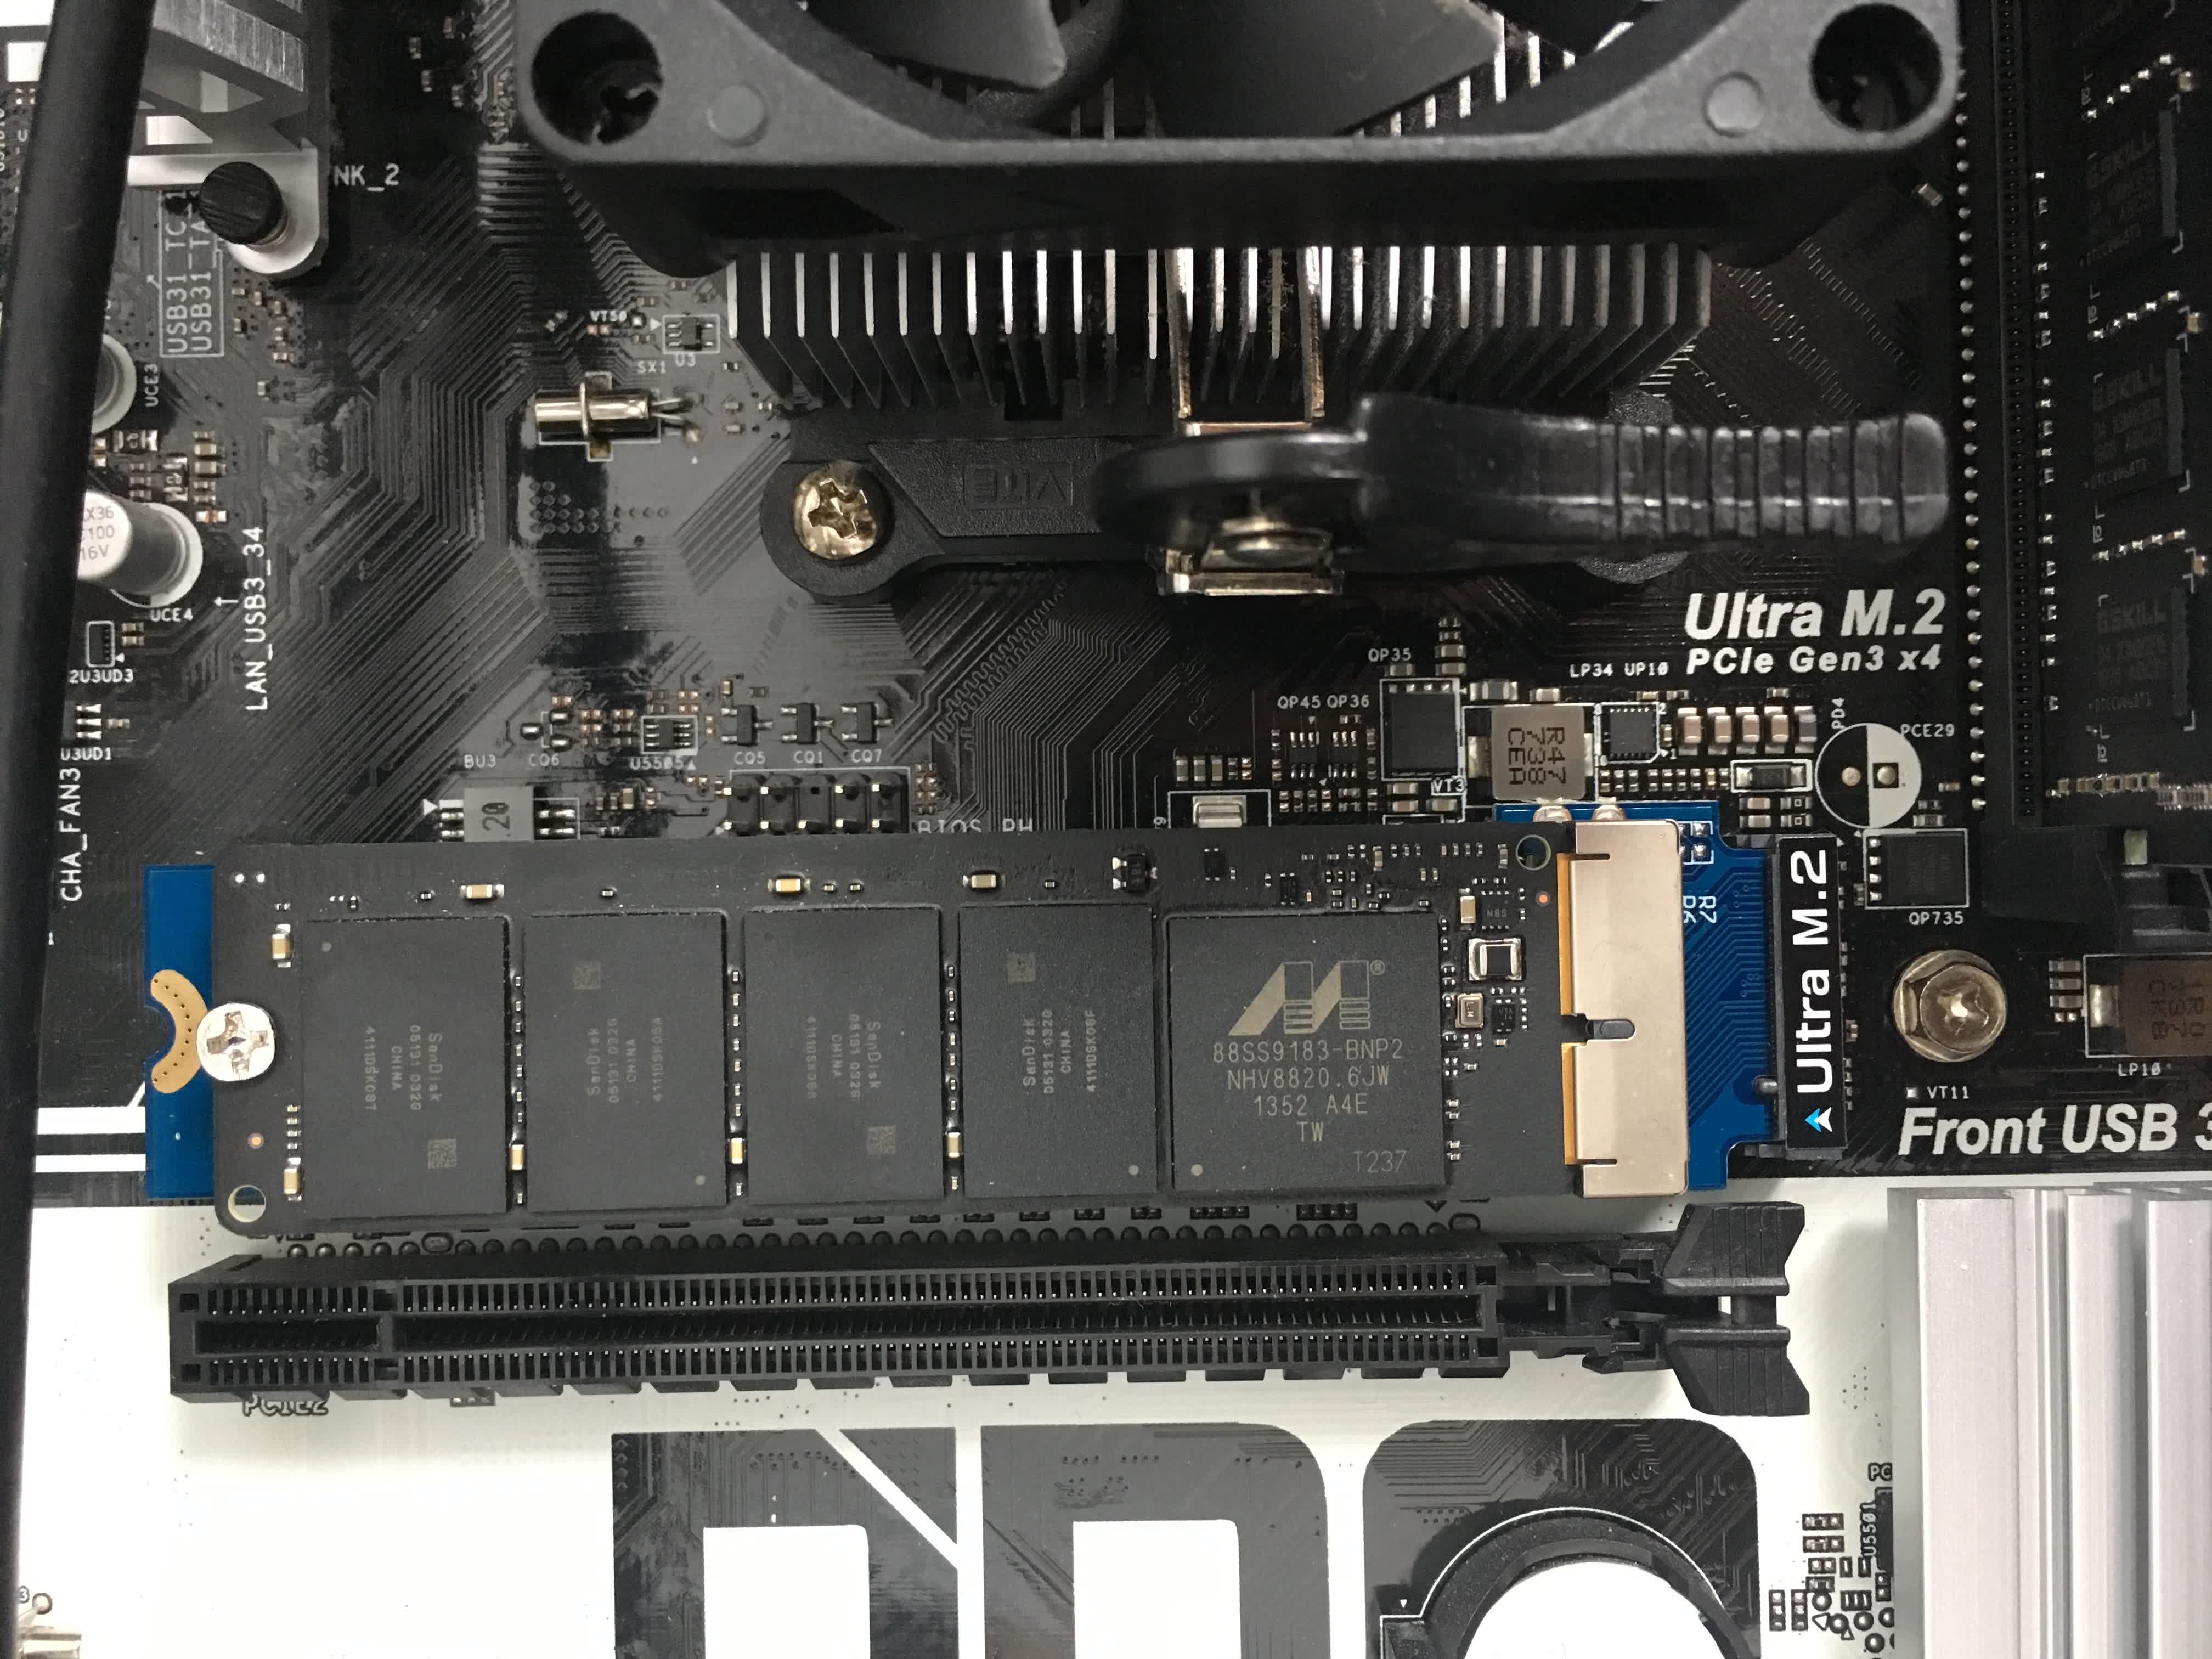
There was a snag though. This M2 slot physically fit the Sintech adapter pins, but the adapter was too long and rested at an angle. Yikes! Please note that this adapter is resting at a horrible crooked angle and is not screwed in. The only thing keeping this adapter in place is gravity and luck.
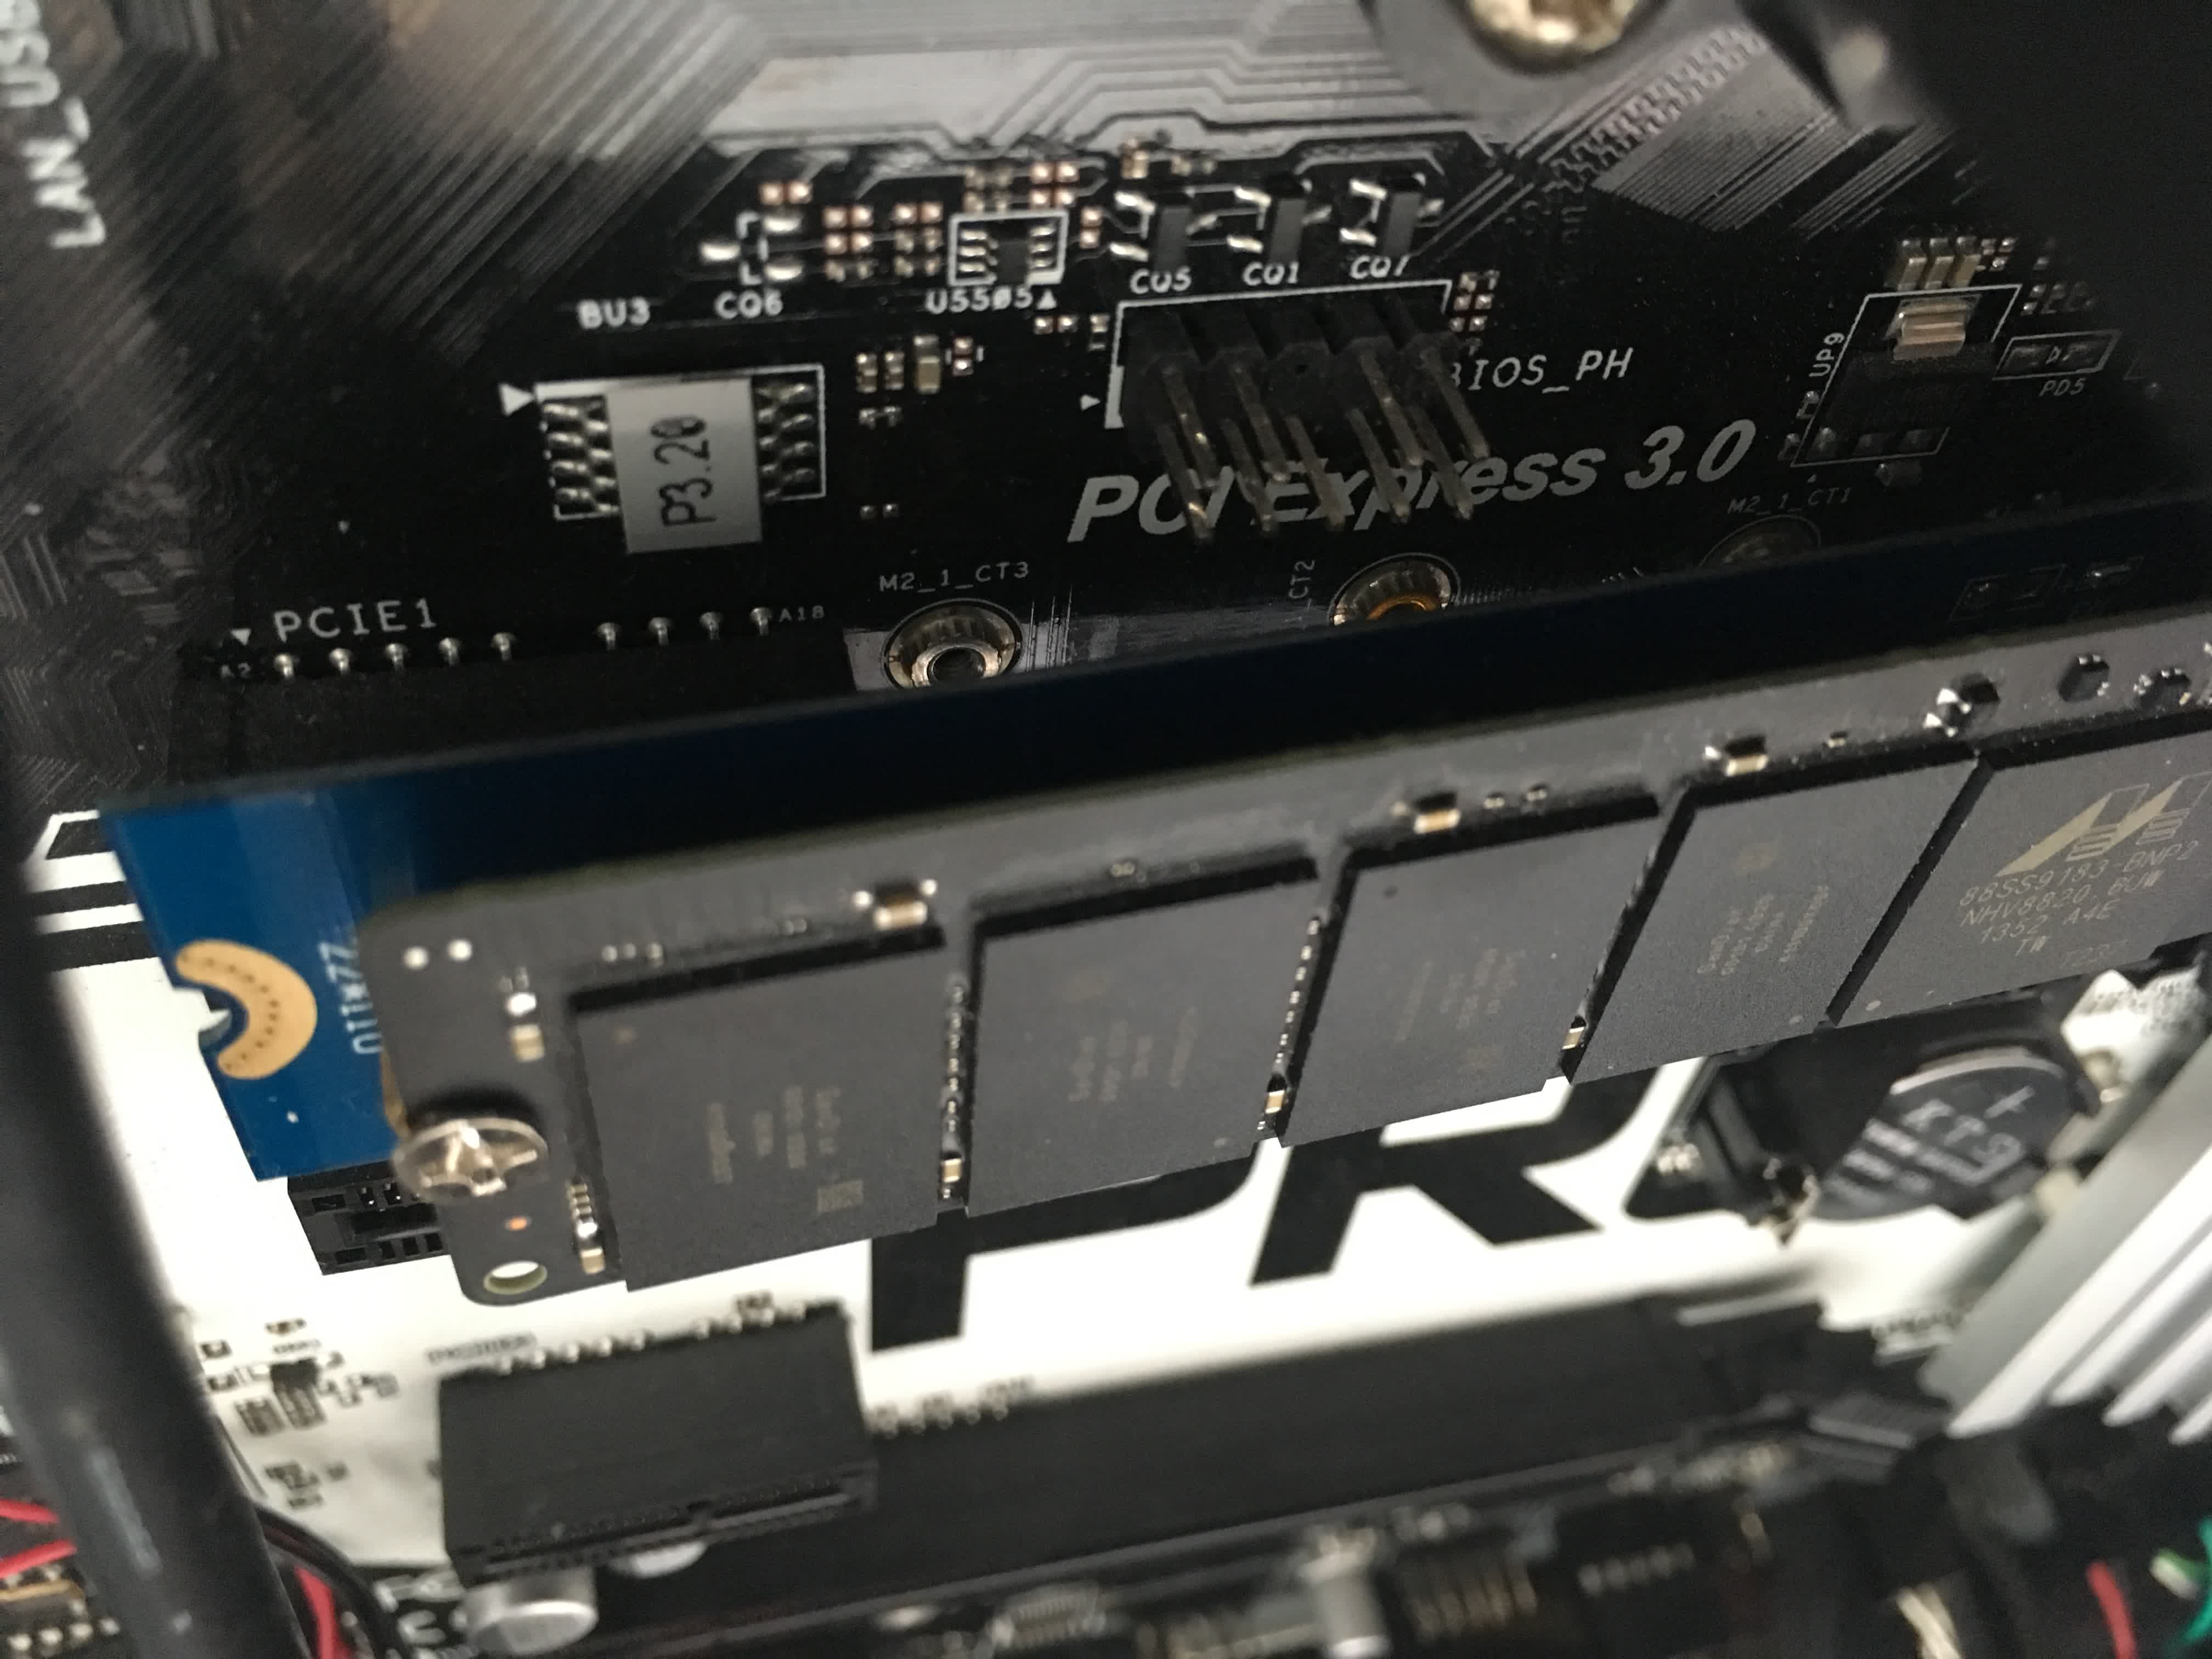
Although this seemed like a very bad idea, I booted my machine and saw that the SSD was detected in BIOS in the M2 PCIe slot!
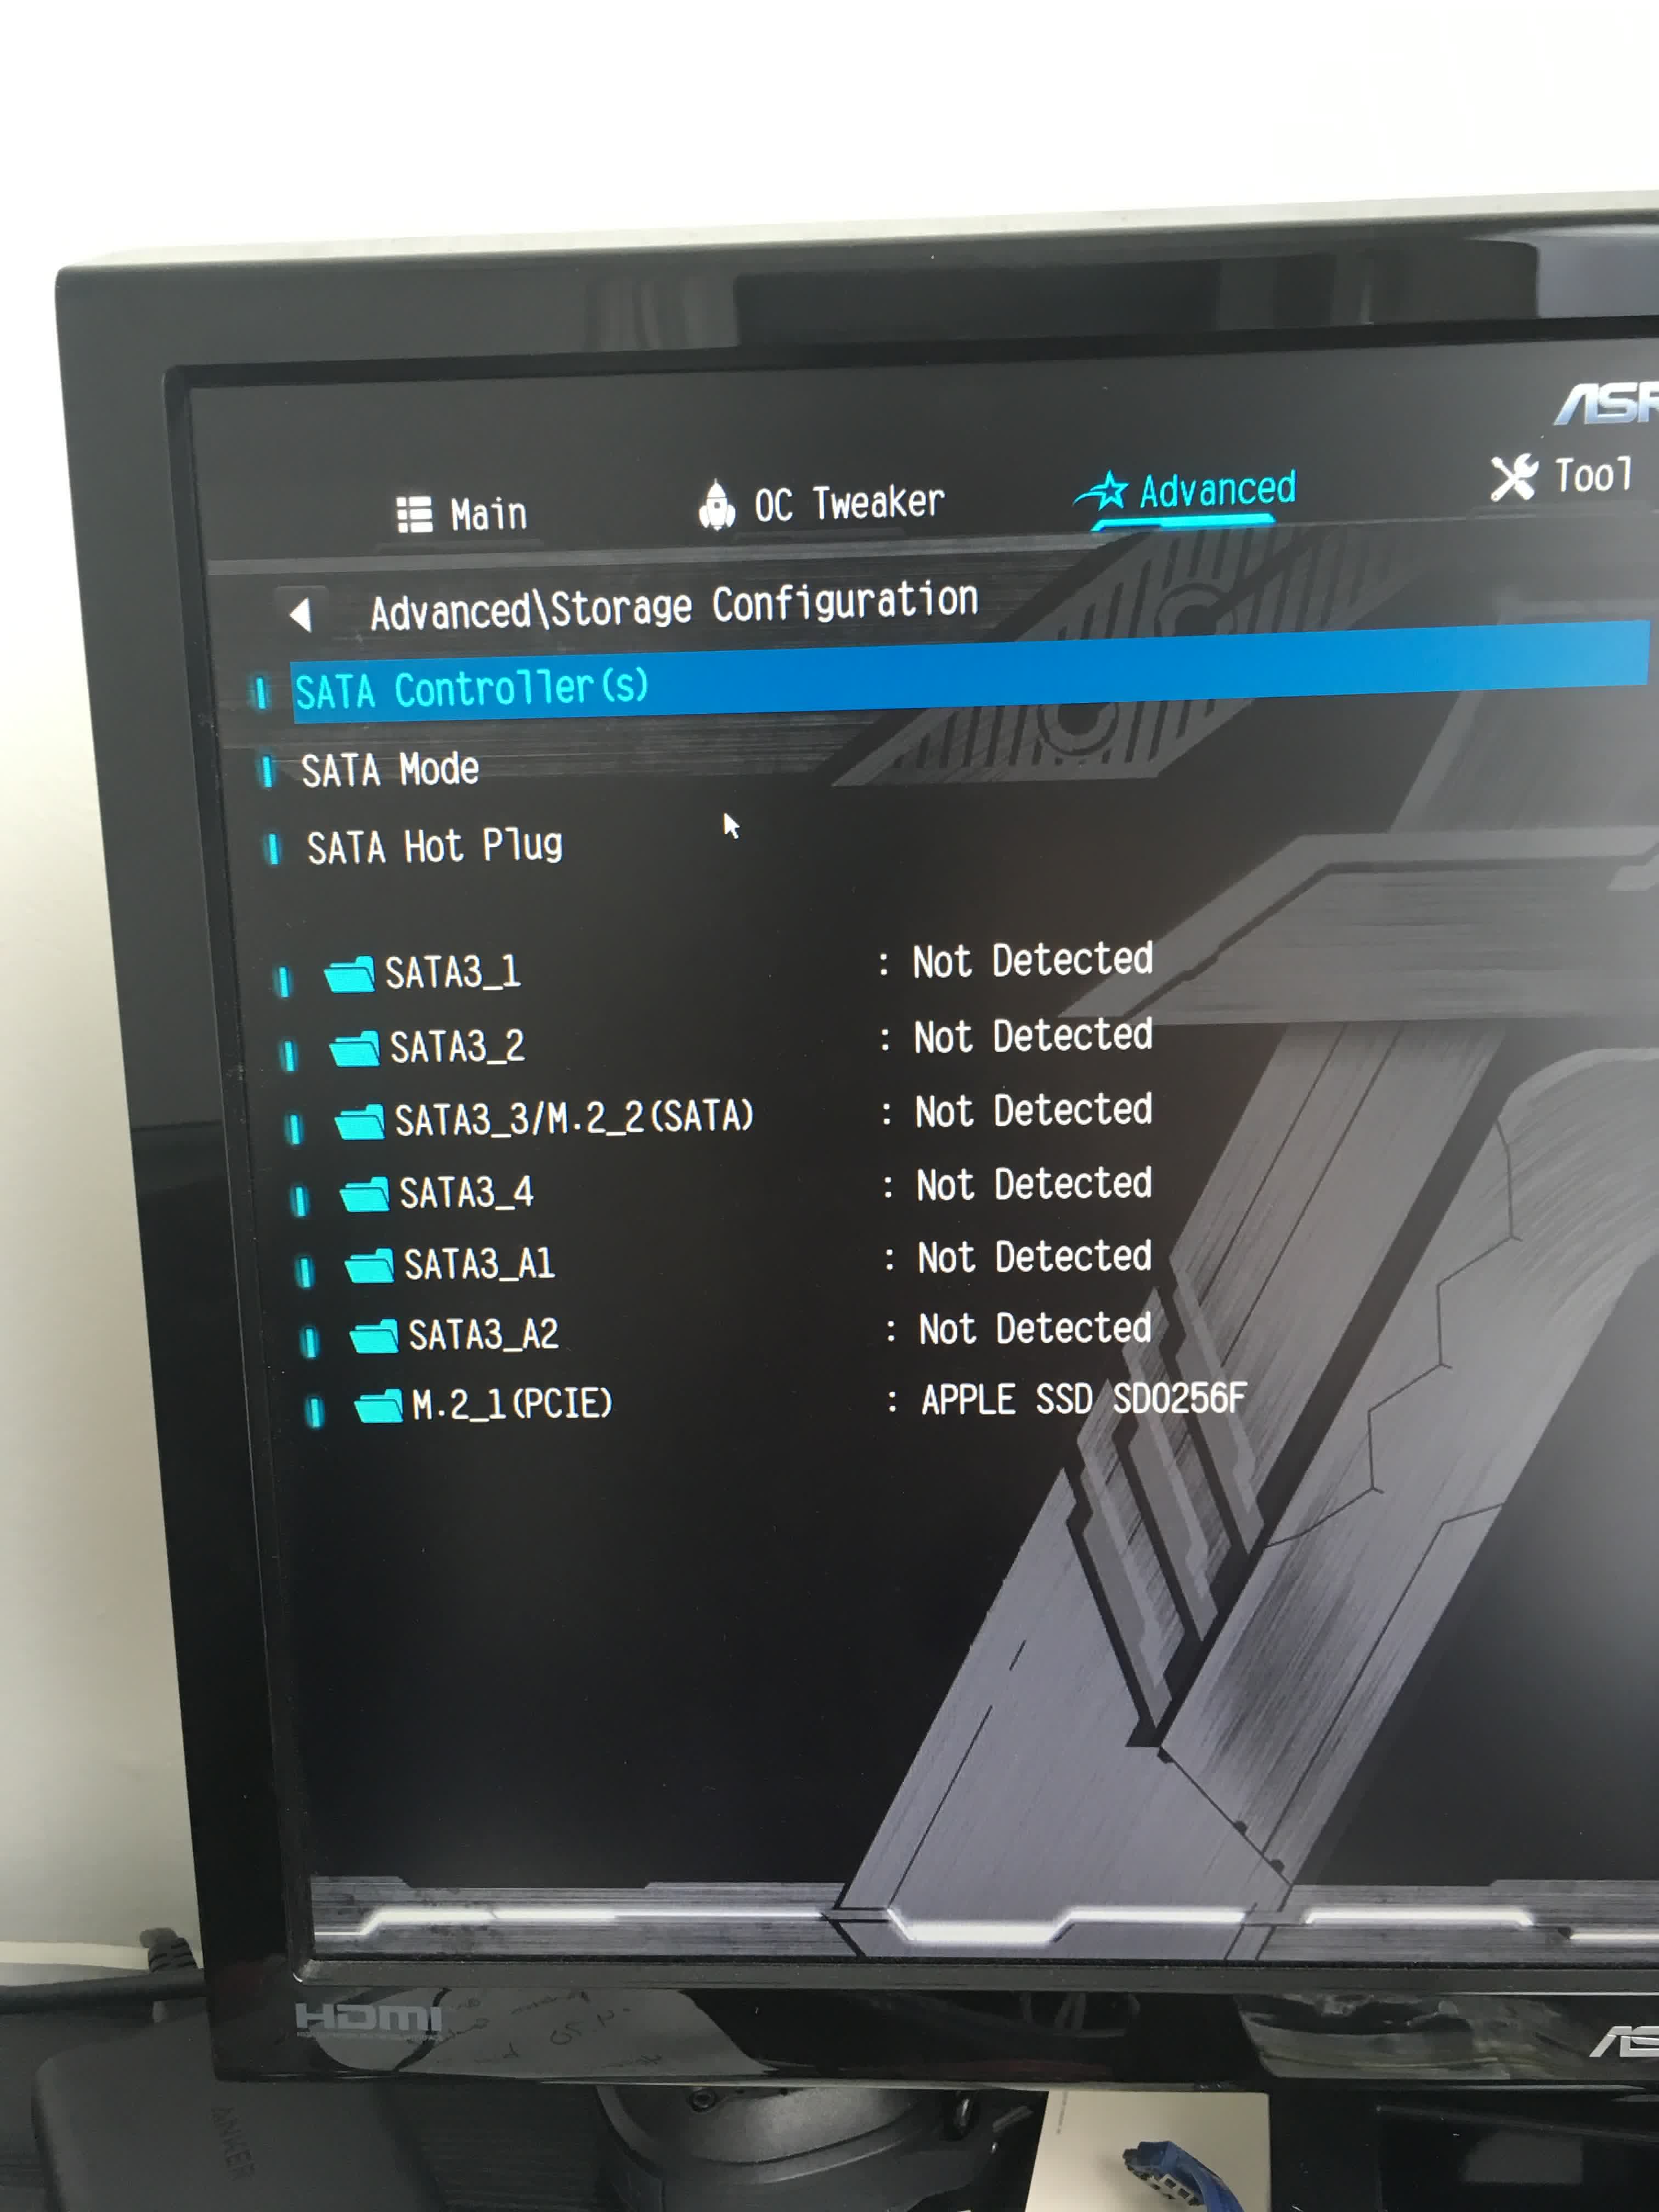
So it seems like the PCIe M2 SSD would only work in the PCIe M2 slot on my motherboard. Makes sense now, but before understanding that there was a difference, I was befuddled.
At this point I was able to boot to Linux and see the device show up as expected.

Please note that it was fairly painful to mount the HFS+ partition in Linux and extract the data at this point. This StackOverflow Super User post was the perfect guide for mounting the partition, but this was all far more complex than anticipated. I can’t imagine how much worse it would have been if the drive was encrypted with FileVault!
After all this, I think it may have been worth it to pay for the expensive enclosures to get data from the drive, but it felt like a waste considering I would only ever use it once.