Improperly Removing a Stubborn Bicycle Freewheel
This article was last edited over 3 years ago. Information here may no longer be accurate. Please proceed with caution, and feel free to contact me.
This is less a guide than a post-mortem. I destroyed my freewheel to remove it. I am not an expert and you are better off consulting your local bike shop than this article. Take a photo of how parts are installed on your axle before removing things!
If you’re reading this article, then you are probably aware that removing a tight freewheel from a bike can be challenging. A stuck bicycle freewheel seems to be a fairly, common, occurrence.
My single speed’s freewheel probably hadn’t been removed since the bike was first built. Pedaling tightens the freewheel. Eight years of pedaling plus biking in all weather made my freewheel feel (to me at least) almost fused on to the hub.
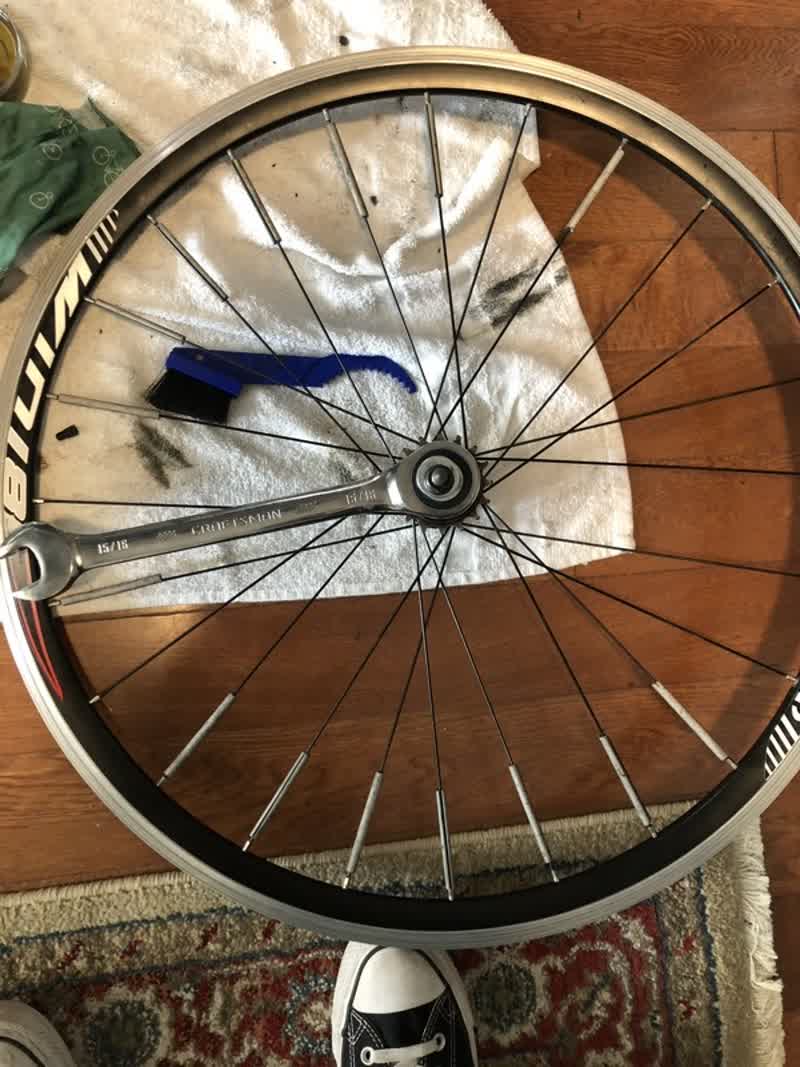
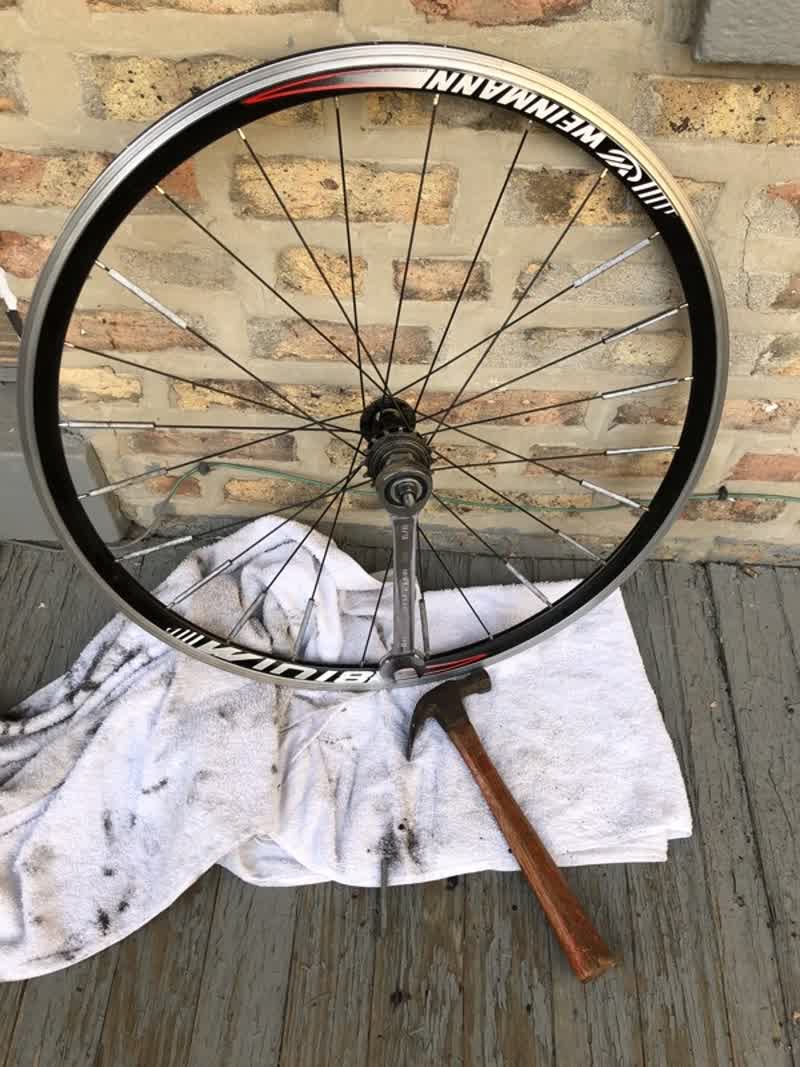
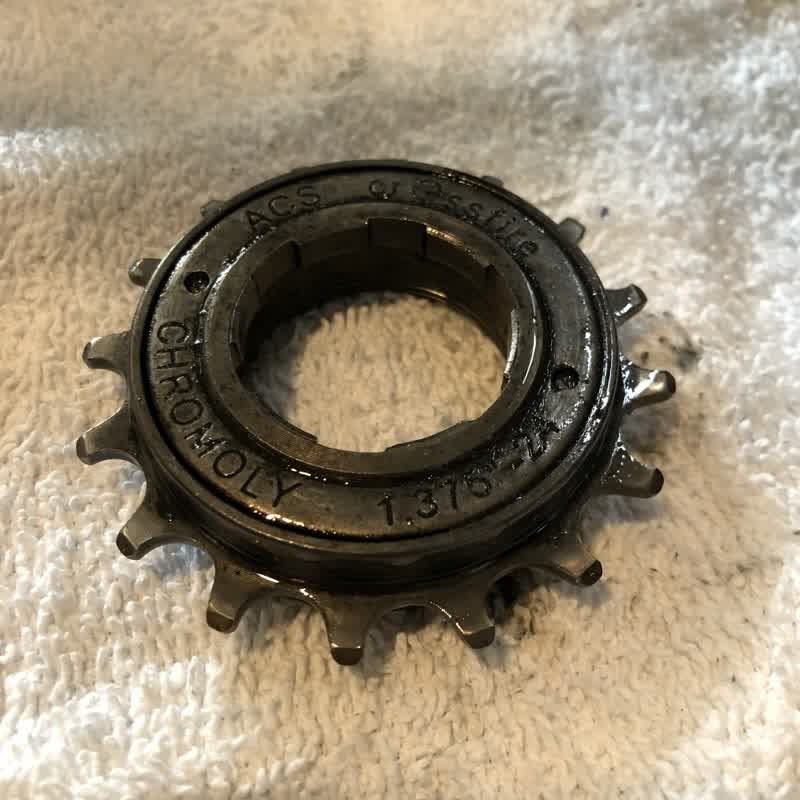
I bought the proper removal tool for my 6 spline ACS Crossfire Freewheel and tried to remove it per the Park Tools Freehub Removal & Installation guide and video.
I used a wrench and turned counter-clockwise (anti-clockwise) and got zero movement. I tried using cheater bars (breaker bars) to help the wrench, but they didn’t do it for me. I also tried using a hammer on the wrench to help it along, but again, no movement.
I don’t have a workbench, and I found that handheld/portable vises and grips were simply not strong enough to hold the tool or the wheel in place while I turned. I rigged up a bench vise with what I had to try and get the proper effect, but still, no luck.
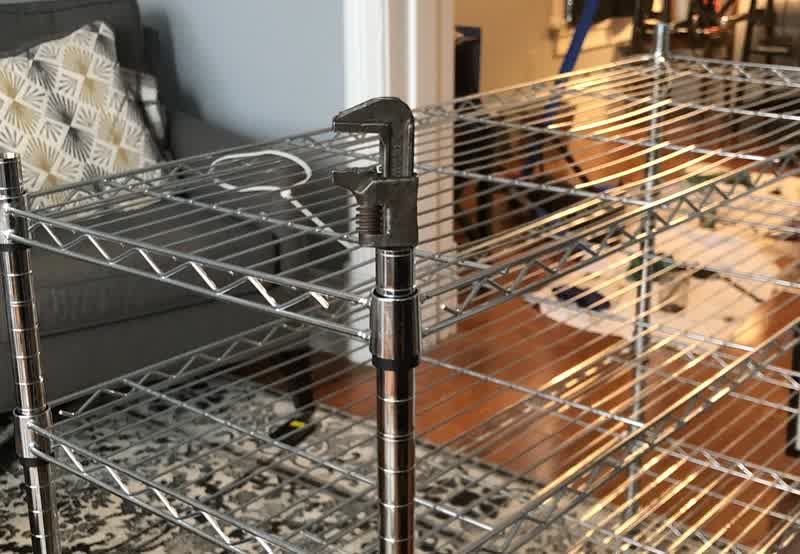
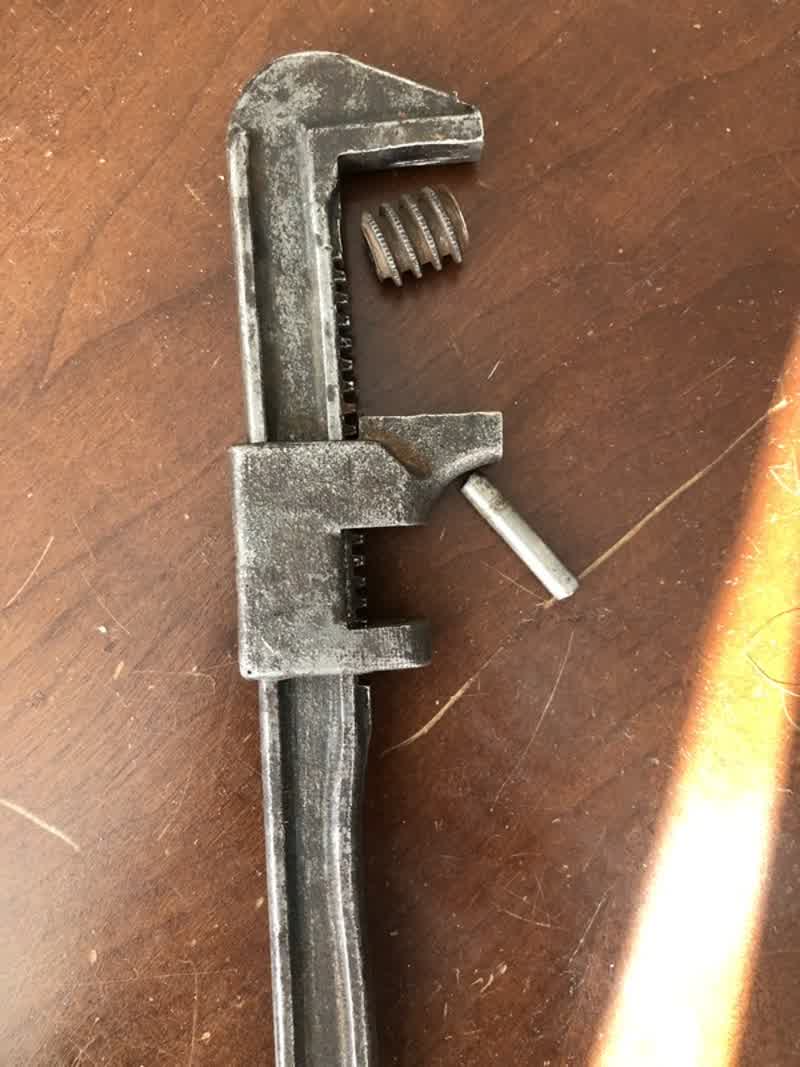
I even managed to break a wrench in the process.
The forces at work sounded so strong that I couldn’t tell if the spokes were straining, the wheel was straining, the wire rack (my hacky workbench) was straining or what. The creaks were horrible and I used all (little) strength that I had.
I had tried using various solvents like PB Wrench, Liquid Wrench, WD 40, and whatever I could find that might help give me some advantage, but they did not seem to make a difference.
These solvents will absolutely ruin the freewheel if they get inside it. More on that below.

I tried Park Tool’s destructive removal process but couldn’t make any headway. I didn’t have the appropriate tools or leverage to do it properly without feeling like I was damaging the wheel in the process.
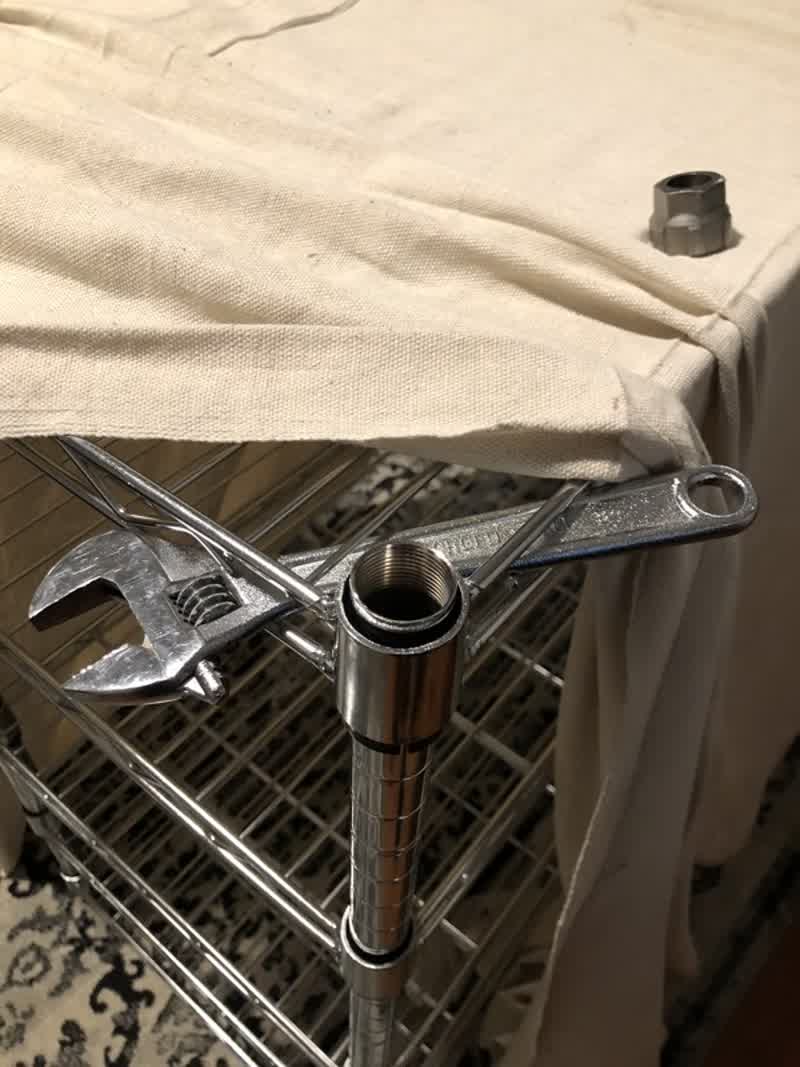
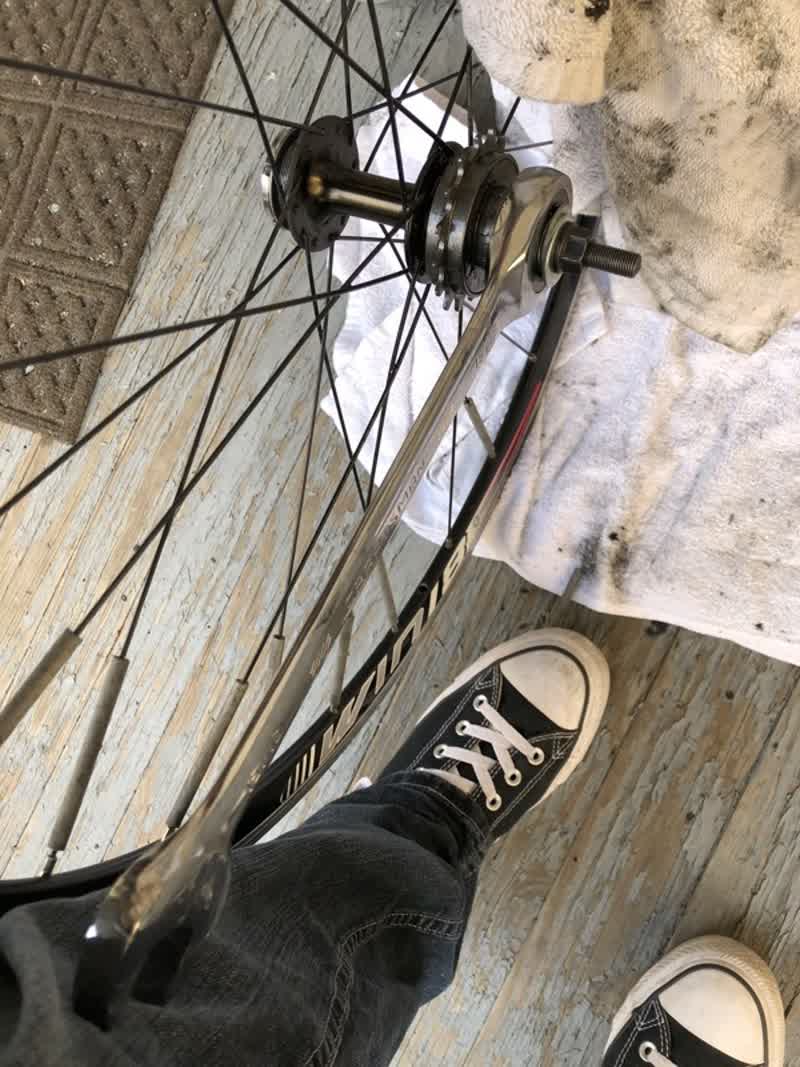
Finally, I bought a wrench specifically to help me remove this sticky freewheel. The wrench was especially long and had a boxed end to fit snugly on the freewheel to provide a better advantage. I re-attached the axle nut and some washers to help keep the wrench in place and not fall off.
That wrench still did not make a difference. I could not move the freewheel.
I decided to follow some advice online and soaked the freewheel overnight in Liquid Wrench.
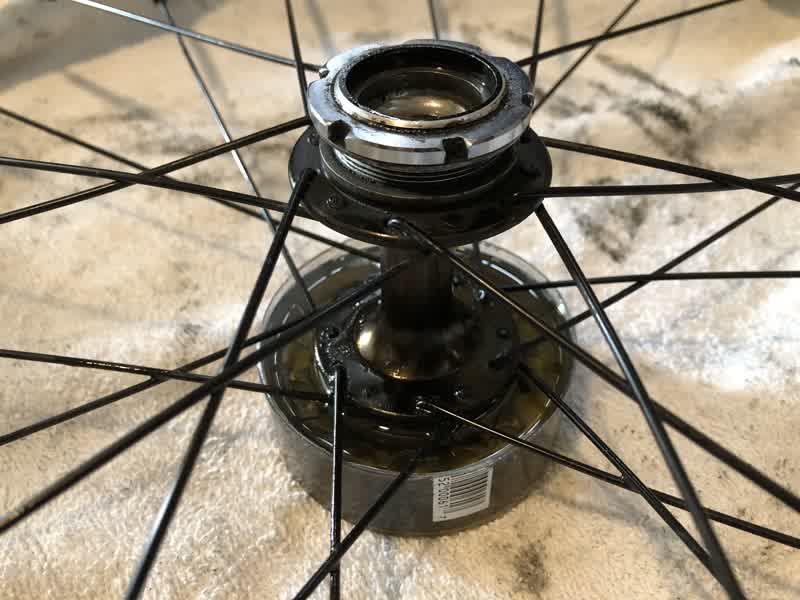
The fumes are powerful. Make sure you are in a well ventilated space. Be prepared to crack a window!This was the most destructive part of the process. Soaking the freewheel in this solvent dissolved all the lubricant inside the freewheel. It was immediately noticeable that the freewheel’s internal grease was all gone after this.
I applied the wrench to the freewheel the next day after letting it soak overnight. Again, no movement.
I hit the wrench with the hammer a number of times as hard as I could and finally I got some traction.
It worked!
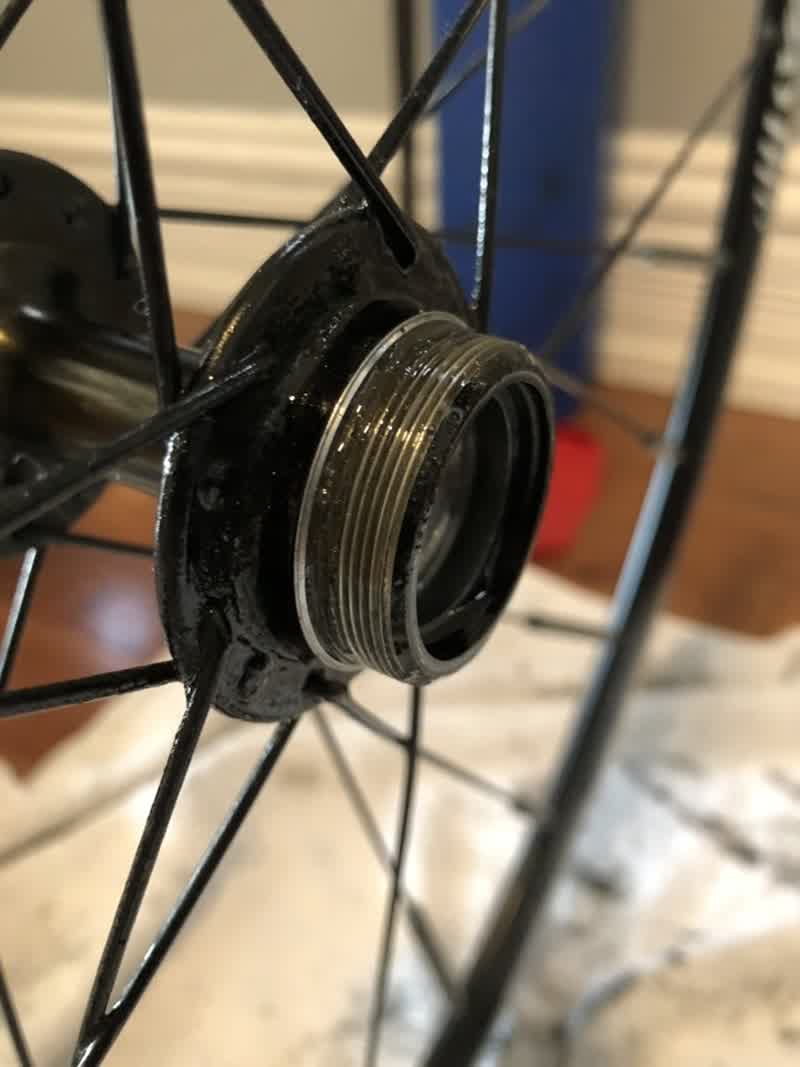
I don’t know what finally did it. Maybe it was the overnight Liquid Wrench bath, having a longer and better fitting wrench, or applying more force with the hammer, but whatever the reason, it worked! The freewheel was finally free from the wheel!
There were a number of things I’d do differently in hindsight. 1) Keep the tube and tire on 2) try using a proper bench vise 3) try the “normal” destructive process with the proper tools 4) photograph everything in detail before disassembling.