Root Samsung Galaxy S Blaze 4G (SGH-T769)
This article was last edited over 3 years ago. Information here may no longer be accurate. Please proceed with caution, and feel free to contact me.
I wrote this because I could not find one specific post or site that could confirm the process for rooting my phone. You may prefer to read the xda-developers forum post where I learned the process and to watch the video about rooting that they posted. They do not specifically cover the SGH-T769 in their post or video.
Follow these instructions at your own risk! There is a chance that your phone could become permanently and irreversibly damaged and your data will be lost if you follow these instructions, and you will almost certainly void your warranty.
My phone has Android 4.0.4 installed (Ice Cream Sandwich). I recommend using Windows 7 for these instructions. After several failed attempts using Windows 8 it became clear that I was not going to be able to root my phone with that platform.
-
Unplug your phone from your computer
-
Download the files required to root your phone
The file is called
Root_with_Restore_by_Bin4ry_v33.zip. Extract the files from the zip to a directory
-
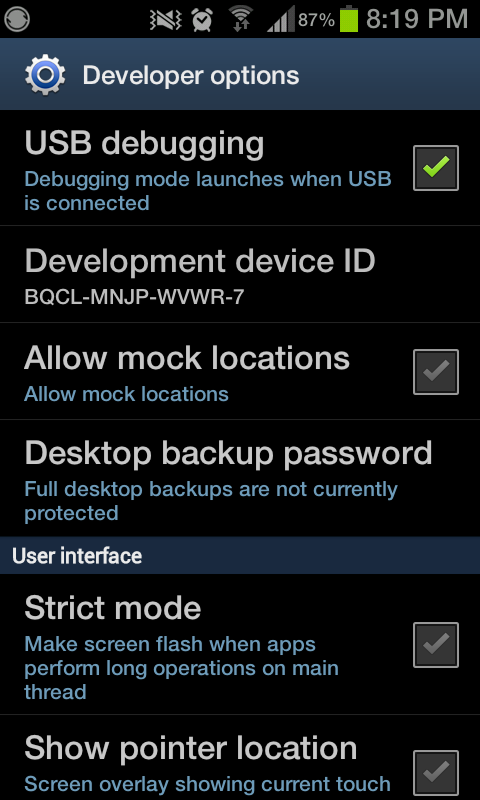
Enable debugging on your phone
Settings -> Developer Options -> USB debugging

-
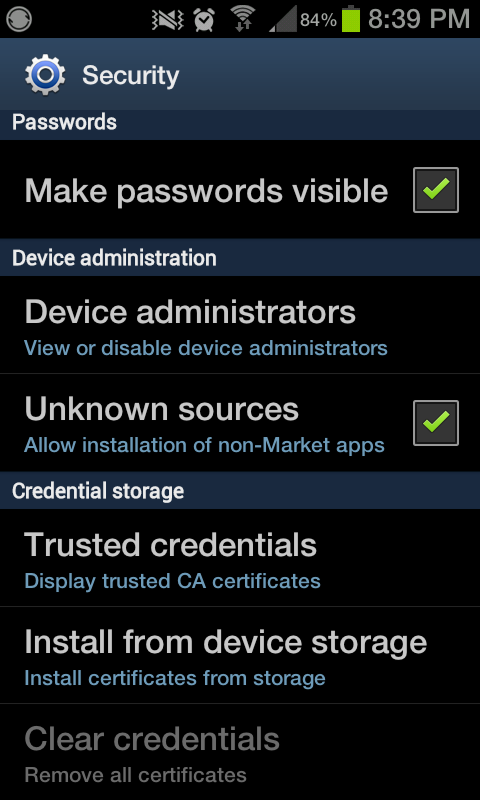
Enable Unknown sources on your phone
Options -> Security -> Unknown sources

-
Connect your phone to your computer
-
Open Device Manager to make sure you do not need to install a driver for your phone. On my machine Windows automatically located and installed a driver but you may need to install it manually

http://developer.samsung.com/android/tools-sdks/Samsung-Andorid-USB-Driver-for-Windows
-
Figure out where your root files are located

-
Open a command (cmd) prompt as Administrator and navigate to the root files
cd C:\Path\To\Files -
Run a simple command to make sure your phone is detected
stuff\adb devices
If you do not see something similar to this screenshot then stop immediately! If a “device” is listed then continue
-
Run the program that will root your phone
RunMe.bat
-
This is important! For the SGH-T769 option 0 works perfectly! (I tried option 1. It did not work so I rebooted my phone and tried 0, which did work)
-
Follow the directions for the root program
-
When the root process is complete you should be able to gain full access to your phone
-
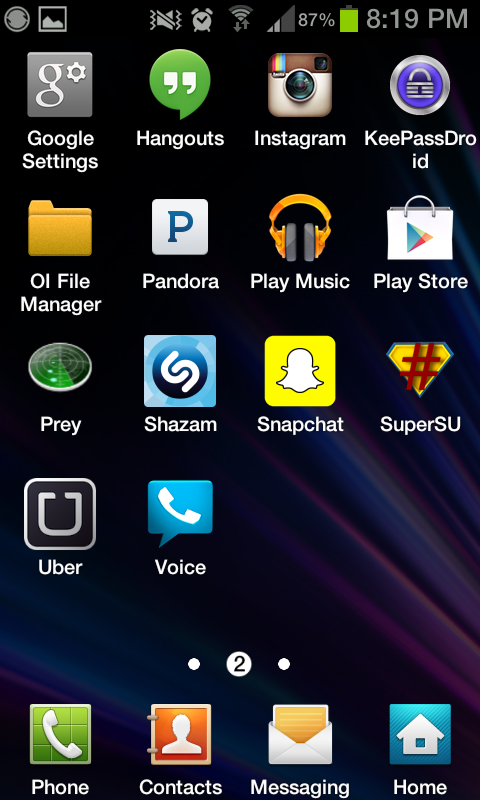
You should notice a new App on your phone
SuperSU

-
Repeat step 7 - 8
-
Run this command to access a terminal on your phone
stuff\adb shell
-
Now gain root access
su -
You may be warned on your phone that someone is trying to gain root access. Allow it
-
You now have root access on your phone
Now may be a good time to ask ourselves, “Hey, why did I want to root my phone in the first place?” Well, there are a number of reasons, but there are a couple that stand out prominently in my mind.
- With your phone rooted you can uninstall annoying stock Apps on your phone
- You can install Google Play Apps that take advantage of your rooted phone to do things that normal Google Play Apps cannot do. For instance, you may now be able to download an App that allows you to tether for free.
Please never forget that your phone is now in a very different state. A hole is open. A security flaw is exposed. You have full access to your phone but someone else may gain that same access if you are not careful!
I won’t go into full detail about how to delete stock Apps. I will, however, list some helpful commands. You can really screw up your phone if you are not careful.
mount(see mounted partitions)pm list packages -f(see installed packages)-
mount | grep -i system(see where your system partition is mounted) -
mount -o rw,remount -t yaffs2 /dev/block/mmcblk0p24
                  /system
(remount your system partition as read-write. CAUTION! Your /dev/block will probably differ from mine. See command above) reboot(reboot your phone from shell)-
ls /system/app | grep -i 't-mo'(look for files named like ’t-mo’ in your system app directory) -
rm Lookout.apk(Delete an APK (application package) called Lookout.apk) -
find / -iname *look*(find, case-insensitive, files on your phone named like ’look')