Set Up a Raspberry Pi Using Only a Chromebook
This article was last edited over 3 years ago. Information here may no longer be accurate. Please proceed with caution, and feel free to contact me.
It is possible to configure a WiFi enabled Raspberry Pi using only a Chromebook and your WiFi access point. This can be done headless (no monitor required) and results in a Raspberry Pi with WiFi and ssh enabled so that you can control it from your Chromebook.
Requirements:
- A WiFi router/access point (AP) for which you know the password
- Chromebook
- SD/microSD Card Reader (built in to many Chromebooks)
- Raspberry Pi with integrated WiFi
-
Raspbian
OS image
.zipfile downloaded to the Chromebook - Chromebook Recovery Utility, an App provided by Google
- Text, a text editor App for Chrome OS
Connect the SD/microSD card to your Chromebook.
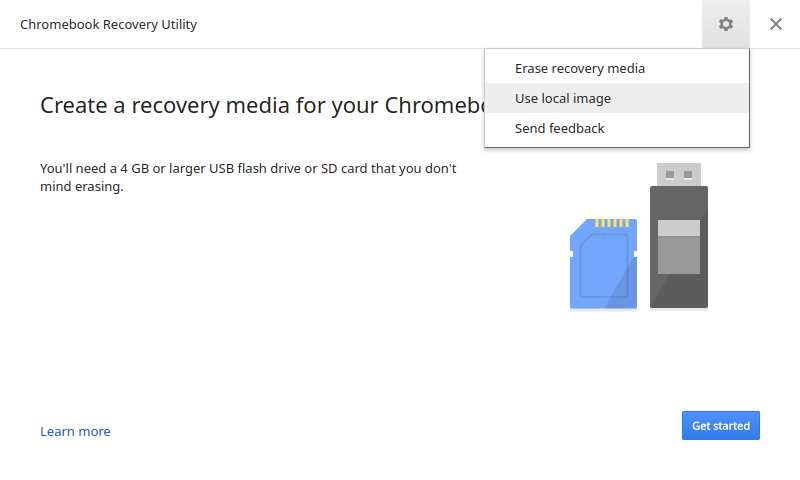
Launch the Recovery Utility and click the gear icon
in the upper right hand corner. Select the
Use local image menu option.
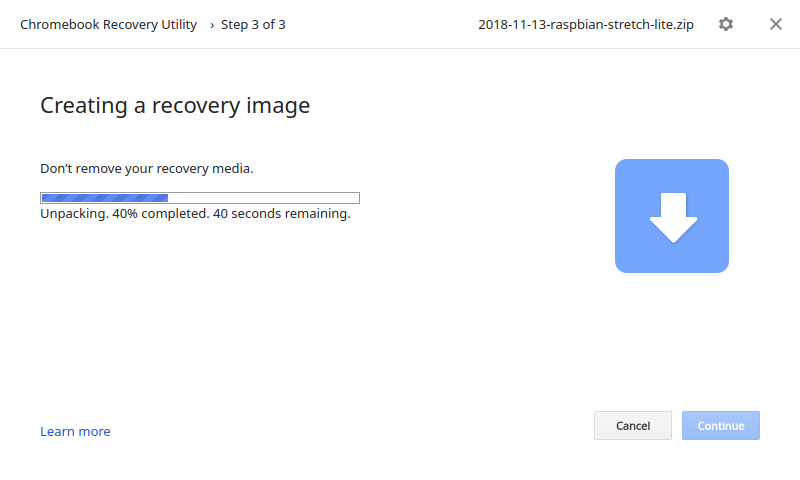
When prompted, navigate to your downloaded copy of
Raspbian OS as a .zip file. The Recovery
Utility can use that as-is without needing to extract the raw
img file.
The Recovery Utility will beging writing Raspbian to the SD/microSD card.
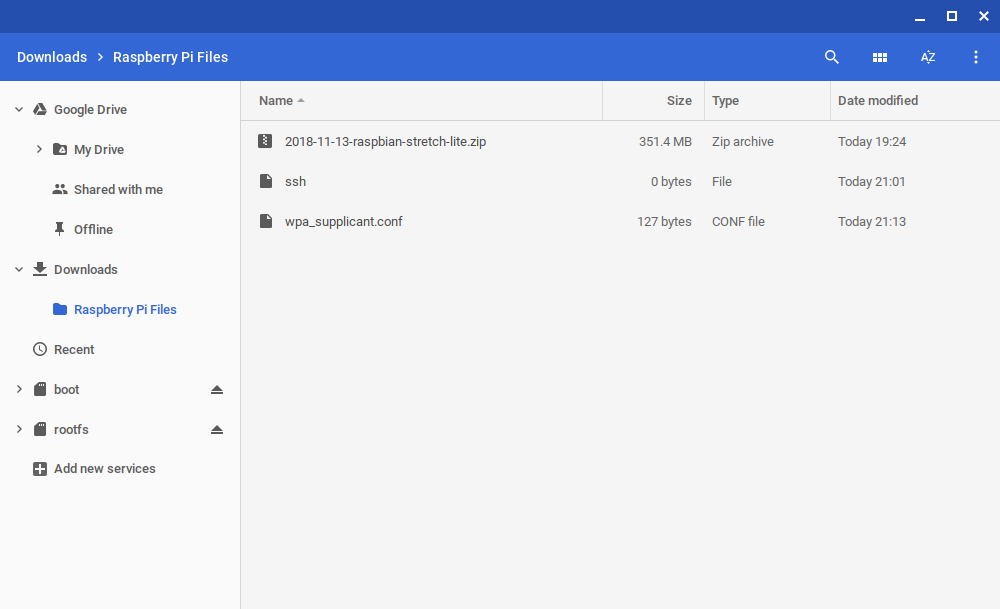
After writing is complete you should see boot and
rootfs partitions appear in the file explorer on your
Chromebook.
Use a text editor like Text on the Chromebook to
create two files. I find it is simpler to save these files to your
Chromebook, and once they are ready, we can copy them to the
Raspberry Pi.
The first file should be named ssh,
and does not need any content at all. It can be entirely empty.
The second file should be named
wpa_supplicant.conf. The
wpa_supplicant.conf file should look like so. Update
the country as appropriate for you, and the
ssid and password information as well.
country=US
ctrl_interface=DIR=/var/run/wpa_supplicant GROUP=netdev
network={
    ssid="My Wifi"
    psk="password 12345"
}
Copy the ssh and
wpa_supplicant.conf files to your
boot partition. There are special Raspberry
Pi-specific linux scripts that run when you boot the Raspberry Pi
for the first time. These scripts will automatically detect the
files we placed on the boot partition and 1) enable
ssh and 2) configure WiFi for your Pi.
I created those two files locally on my Chromebook then simply
copied them to my boot partition.
You should now be able to boot your Raspberry Pi headless, with no screen, and connect to it wirelessly over ssh from your Chromebook after waiting several minutes for booting to complete and for the Pi to connect to WiFi.
The last piece of the puzzle is determining the IP address of your Raspberry Pi. On a home network, you should be able to access the DHCP tables on your router to see what IP address your Pi was given and connect as you normally would over ssh.